
Last updated November 2, 2026
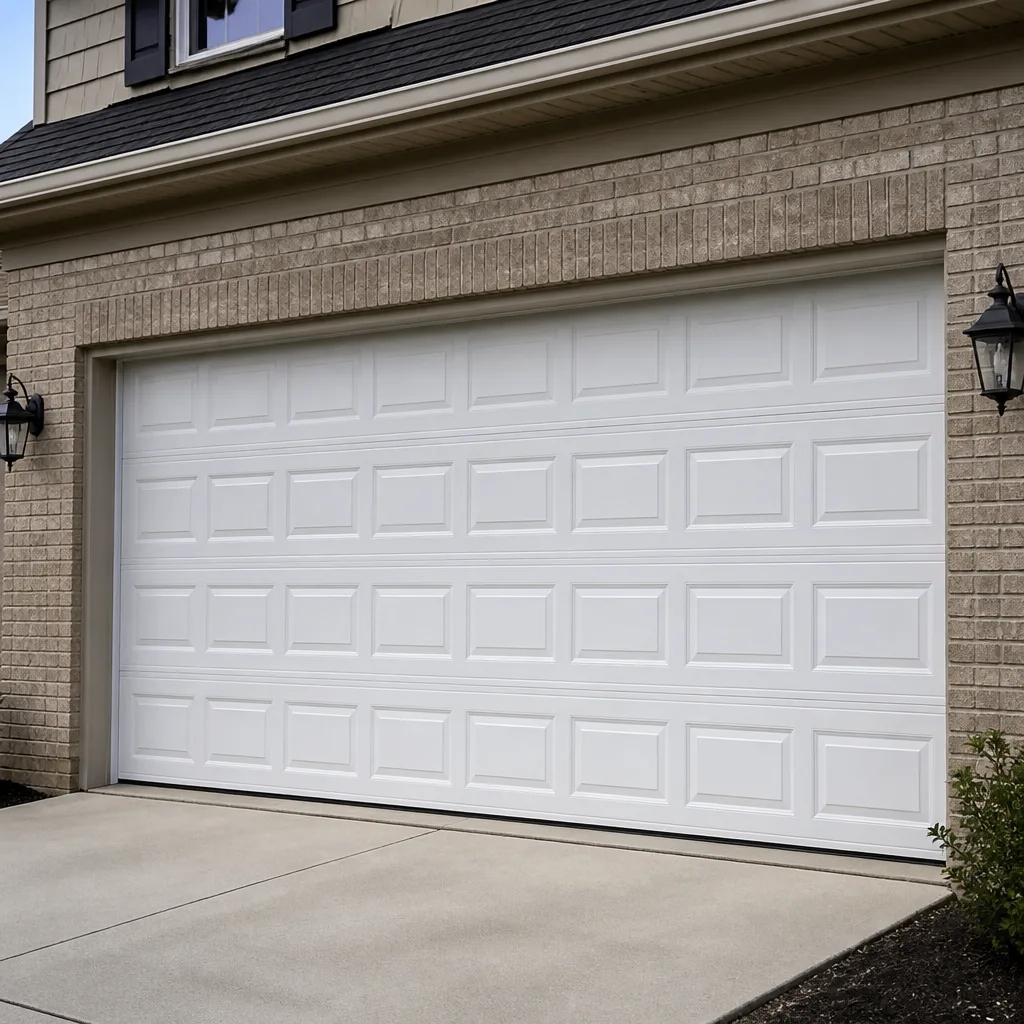 Raised-panel steel
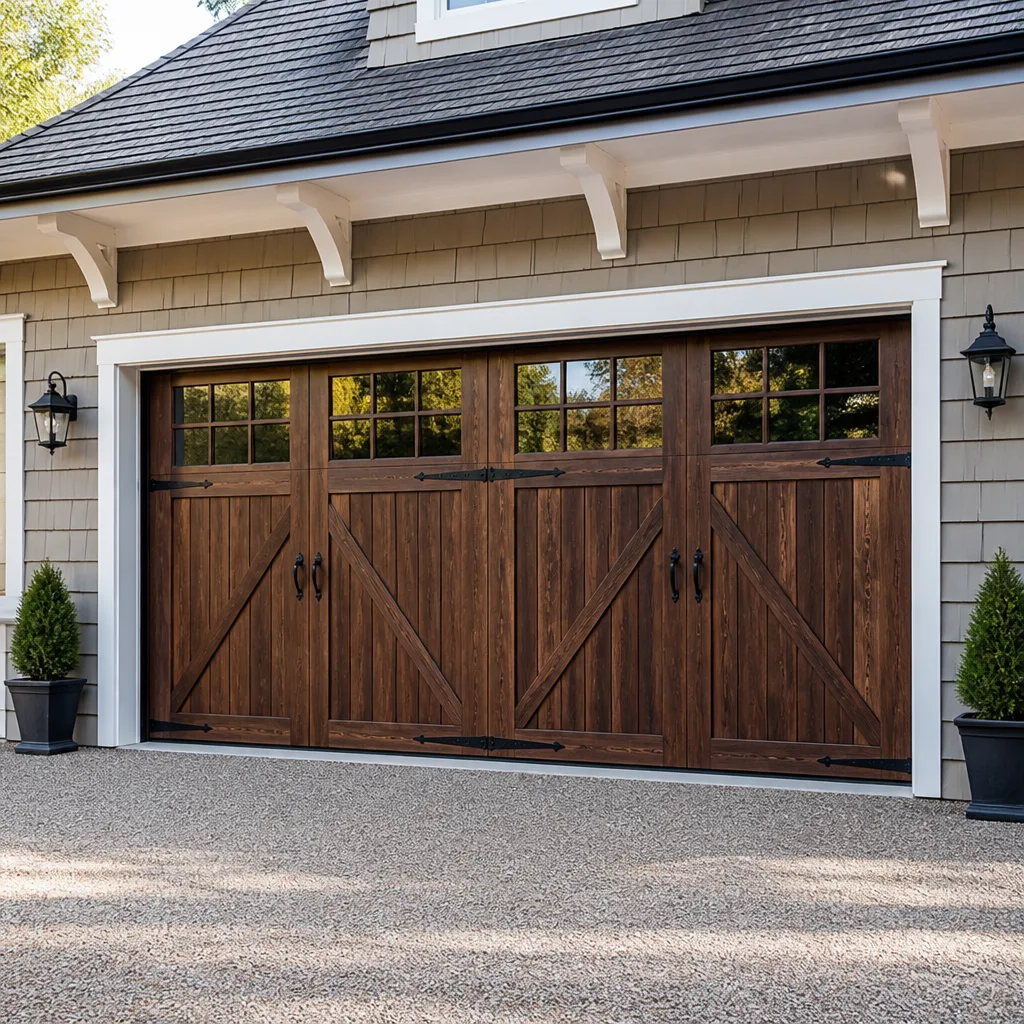 Carriage house
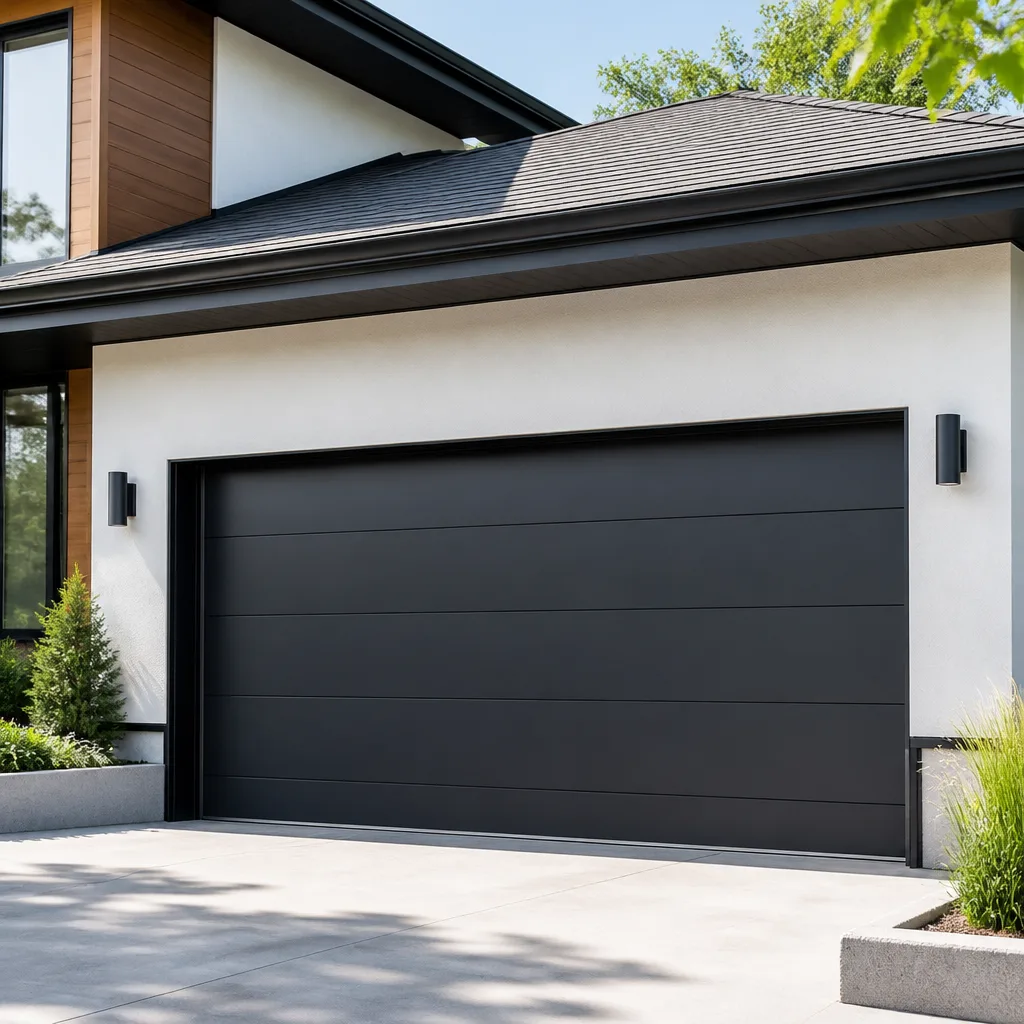 Modern flush
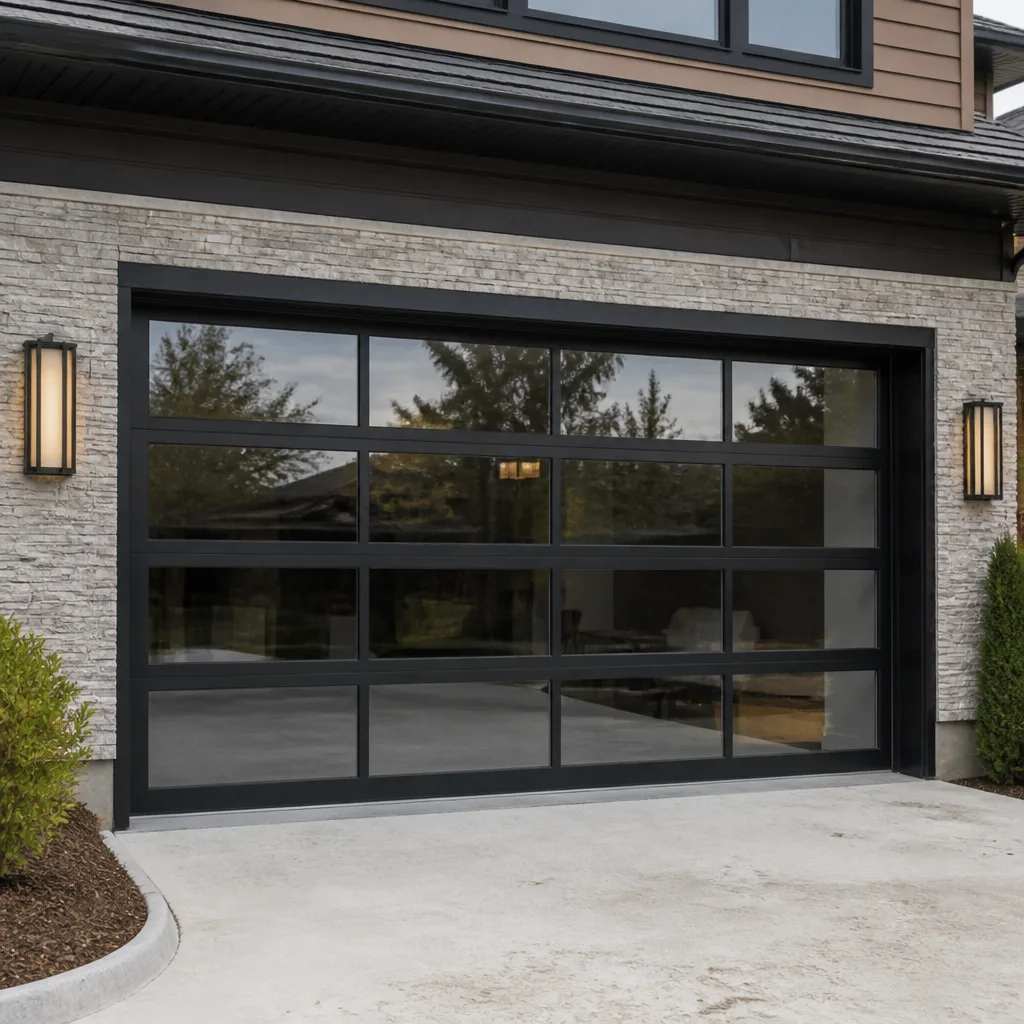 Full-view glass
 LiftMaster openers
 Chamberlain openers
Full 25-point door and opener safety check with every visit - springs, cables, rollers, tracks, and your LiftMaster or Chamberlain opener included
You get a price before we start. It does not change when the truck arrives.
Get your free estimateGarage Door Repair Maintenance Checklist for Camarillo Homeowners
Here’s something most Camarillo homeowners don’t realize until a spring snaps at 7 a.m. on a workday: the leading cause of premature garage door failure in this city isn’t neglect. It’s performing the wrong maintenance on the wrong schedule. The standard “lubricate once a year” advice that works for inland climates falls apart here, where salt air coming up from the coast meets temperature swings off the Conejo Grade and daily open-close cycles from two-car suburban households. This guide – along with our Garage Door Repair Troubleshooting: Common Problems and How to Fix Them resource – is built around what we actually see on service calls across Camarillo, from Mission Oaks to Leisure Village to the Santa Rosa Valley. You’ll learn the three components that fail first in this climate, how to catch them before they break, and which maintenance tasks are genuinely safe to DIY versus which ones demand a trained technician.
Quick Answer
A garage door maintenance checklist for Camarillo homes should include monthly visual checks of rollers, cables, and weather seals; quarterly lubrication of hinges and rollers with a silicone-based product (not WD-40); an annual torsion spring tension test; a monthly auto-reverse safety test on your opener; and a professional inspection once a year that covers spring torque, cable condition, and track alignment. Coastal humidity and Santa Ana wind events mean standard 12-month lubrication intervals are too infrequent for doors within five miles of the ocean.
Styles & brands we work with
- Raised-panel steel
- Carriage house
- Modern flush
- Full-view glass
- LiftMaster openers
- Chamberlain openers
Table of Contents
- The Monthly Visual Checklist
- Lubrication Schedule for Coastal California
- The Torsion Spring Tension Test
- Weather Seal Inspection for Camarillo’s Wind Patterns
- Opener Force and Auto-Reverse Calibration
- The Tiered Maintenance Plan: Monthly, Quarterly, Annual
- When to Call a Professional
The Monthly Visual Checklist
A five-minute walkthrough once a month catches most garage door problems before they become breakdowns. In Camarillo, where marine layer moisture accelerates rust on exposed metal, consistency matters more than intensity. Here’s what to look at each month:
- Rollers: Check for visible wear, cracking, or wobble. Nylon rollers with exposed bearings are common failure points. In coastal air, metal rollers develop surface rust faster than inland.
- Cables: Look for fraying strands near the bottom bracket and drum. A single broken strand is a warning sign, not a cosmetic issue.
- Hinges and brackets: Watch for loose bolts or shifting hardware. Door panels that move independently from each other indicate hinge wear.
- Track alignment: Look down both vertical tracks from the side. Any visible gap or bend is worth investigating.
- Weather seal: Run your hand along the bottom seal and side seals. Cracks, flattening, or gaps let dust, water, and Santa Ana debris into the garage.
- Opener chain or belt: Check tension. A sagging chain or slipping belt creates uneven door travel.
- Balance behavior: Watch the door open and close once. Jerky movement, hesitation, or speed changes often precede a component failure.
We’ve seen Camarillo homeowners catch broken cables, seized rollers, and cracked seals during these monthly walkthroughs, saving themselves from our Garage Door Repair services for the more expensive fix that follows when a small problem goes unchecked. The habit takes five minutes. The alternative is a service call at the worst possible time.
Lubrication Schedule for Coastal California
Most manufacturer guides recommend lubricating garage door hardware once a year. That interval works in dry inland climates. It does not work in Camarillo’s coastal zone, where airborne salt and persistent marine layer moisture accelerate oxidation on metal rollers, hinges, and springs. In our experience, doors within five miles of the ocean that follow annual lubrication schedules show noticeably more corrosion than doors lubricated quarterly.
The fix is a schedule adjustment, not a product change:
- Every three months: Apply a silicone-based spray or white lithium grease to hinges, roller bearings, and the torsion spring. Do not use WD-40. It displaces moisture but leaves metal dry, which accelerates rust in coastal air.
- Every six months: Lubricate the opener chain or belt according to the manufacturer’s specification. A dry chain wears sprockets. An over-lubricated belt attract debris.
- After any Santa Ana event: Wipe down exposed metal components. Fine dust blown in from the Santa Ana winds acts as an abrasive when trapped in lubricated joints.
- Before each rainy season: Check all exposed metal for signs of surface rust and address with a light wire brushing followed by fresh lubricant.
Skip the big-box “garage door lube” cans with vague instructions. A plain silicone spray rated for metal-on-plastic contact works for most residential doors, including wood and steel models from Clopay and Amarr. The key is frequency, not product sophistication. Quarterly application with a basic silicone lubricant outperforms annual application with a premium one.
The Torsion Spring Tension Test
Torsion springs do most of the heavy lifting when your garage door opens. A standard 16-foot double door weighs between 250 and 400 pounds. The springs counterbalance that weight so your opener only handles a fraction of the load. When springs lose tension, the opener works harder, the door moves slower, and eventual spring failure becomes a matter of when, not if.
Here’s a homeowner-safe way to check spring tension without touching the springs themselves:
- Close the garage door completely.
- Pull the emergency release cord. This disconnects the door from the opener carriage.
- Lift the door manually to about waist height, roughly three feet off the ground.
- Let go of the door. A properly balanced door remains in place. A door that drifts downward has weak springs. A door that springs upward has an unusual over-tension condition.
- Move the door to chest height and repeat. The door should hold steady at any position between waist and chest height.
This test takes under a minute and requires no tools. If the door drifts significantly, the springs are losing tension and will eventually snap. Spring replacement is not a DIY job. Torsion springs hold enough stored energy to cause serious injury, and the winding process requires specialized bars and careful technique. A state-licensed technician should handle spring replacement. What this test gives you is early warning – one of several covered in Garage Door Warning Signs: A Camarillo Homeowner’s Reference Guide – which gives you time to schedule a replacement rather than dealing with a snapped spring and a door stuck open.
We also see a Camarillo-specific pattern here: homes where the door faces west catch more afternoon sun on the spring assembly. Heat cycling on exposed metal accelerates spring fatigue. If your garage faces the afternoon sun, check spring tension twice a year rather than annually.
Weather Seal Inspection for Camarillo’s Wind Patterns
Camarillo’s weather moves in two distinct patterns: the marine layer that rolls in from the Pacific most mornings, and the dry northeast Santa Ana winds that arrive in fall and winter. Each one abuses garage-door weather seals differently. The marine layer keeps the bottom seal damp, which softens rubber and loosens its grip over time. Santa Ana winds drive fine dust and debris against the side and top seals, wearing them down and creating gaps.
Inspect seals during both seasons:
- Summer and spring (marine layer season): Run your hand along the bottom seal after several consecutive foggy mornings. A seal that feels soft, spongy, or leaves rubber residue on your fingers is breaking down. The same moisture that corrodes rollers also attacks rubber compounds.
- Fall and winter (Santa Ana season): Look for light passing under or around the door. Dust streaks on the interior floor near the door edges indicate gaps that let wind-blown debris inside. Santa Ana winds push fine dust through openings as small as a quarter-inch.
- Year-round: Check the top seal where the door meets the header. Hot air rises from the garage interior and escapes here, which matters in summer when garages can hit 100 degrees and in winter when they drop into the low 40s.
Replacing a bottom seal is a straightforward repair most homeowners can handle with a basic rubber seal kit. Side and top seal replacement involves more precise fitting, and that’s where a technician can help. Either way, a functional seal set keeps out moisture, dust, and pests. In Camarillo, it also reduces the interior humidity that causes tools to rust and stored items to mildew.
Opener Force and Auto-Reverse Calibration
The auto-reverse mechanism on your garage door opener is the single most important safety feature in the system. Federal regulations have required auto-reverse on all residential openers since 1993, and the mechanism is supposed to stop and reverse the door if it encounters resistance while closing. Most Camarillo homeowners have never tested this feature. We’d estimate a meaningful percentage of the openers we inspect on service calls fail the force test, meaning the door continues closing even when blocked.
Here’s the five-minute test:
- Place a roll of paper towels or a piece of 2×4 lumber flat on the floor in the path of the closing door.
- Close the door using the opener or a wall button.
- Watch the door’s bottom edge. When it contacts the object, it should immediately reverse and return to the open position.
- If the door does not reverse, or if it hesitates before reversing, the force setting is too high and the auto-reverse is not functioning properly.
- Open the door and test the infrared safety sensors near the floor on each side. Wave your hand through the beam while the door is closing. The door should reverse. If it does not, the sensors are misaligned or the opener’s logic board has an issue.
Force calibration is an adjustment most homeowners can make using the dials or digital settings on the opener unit. But if you’re uncertain about touching opener settings, call a professional. A garage door that closes with too much force is genuinely dangerous, especially for children and pets. As an opener repair specialist in Camarillo, we treat force calibration problems as urgent, not optional.
One more note: openers made by LiftMaster, Chamberlain, Genie, and Craftsman all have slightly different force-setting procedures. The manuals are easy to find online. If you can’t locate yours, the model number printed on the opener unit is all a technician needs to walk through the correct calibration sequence.
The Tiered Maintenance Plan: Monthly, Quarterly, Annual
Rather than trying to remember everything at once, organize maintenance into three tiers. This is the service-pattern-informed approach we recommend for Camarillo homes, with more guides & resources available to deepen your understanding.
Tier 1: Monthly (5 minutes)
- Visual check of rollers, cables, hinges, and tracks.
- Auto-reverse safety test with a paper towel roll.
- Watch one full open-close cycle for smooth movement.
- Check weather seals for gaps or cracks.
Tier 2: Quarterly (15 minutes)
- Lubricate hinges, roller bearings, and torsion springs with silicone spray.
- Check opener chain or belt tension.
- Test manual door balance using the emergency release cord.
- Inspect bottom seal for wear and replace if needed.
- Wipe down exposed metal after any recent Santa Ana event.
Tier 3: Annual (Professional Inspection, 45-60 minutes)
- Torsion spring tension and mounting bracket inspection.
- Cable condition assessment including areas hidden behind the drums.
- Track alignment and level verification.
- Opener force and travel limit calibration.
- Safety sensor alignment and response time check.
- Bearing inspection on all rollers and end bearing plates.
- Panel condition check for wood rot, steel rust, or composite cracking.
The annual tier is where most driveway maintenance guides stop. The monthly and quarterly tiers are what actually prevent the breakdowns. In our experience on Camarillo service calls, homes that follow this tiered schedule see meaningfully fewer emergency repairs. The annual professional inspection catches what the homeowner cannot see: internal spring fatigue, cable wear hidden behind the drums, and track alignment drifts measured in fractions of an inch.
See the difference
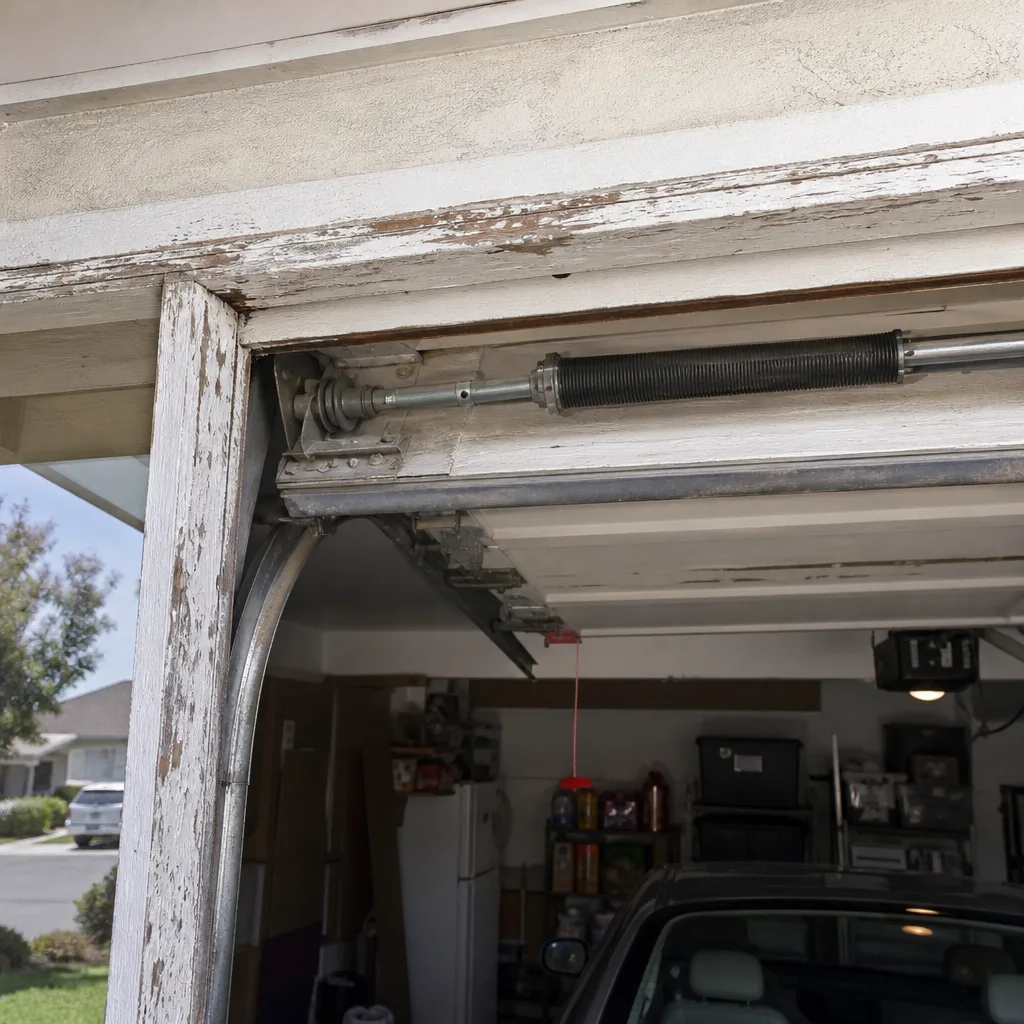 Before
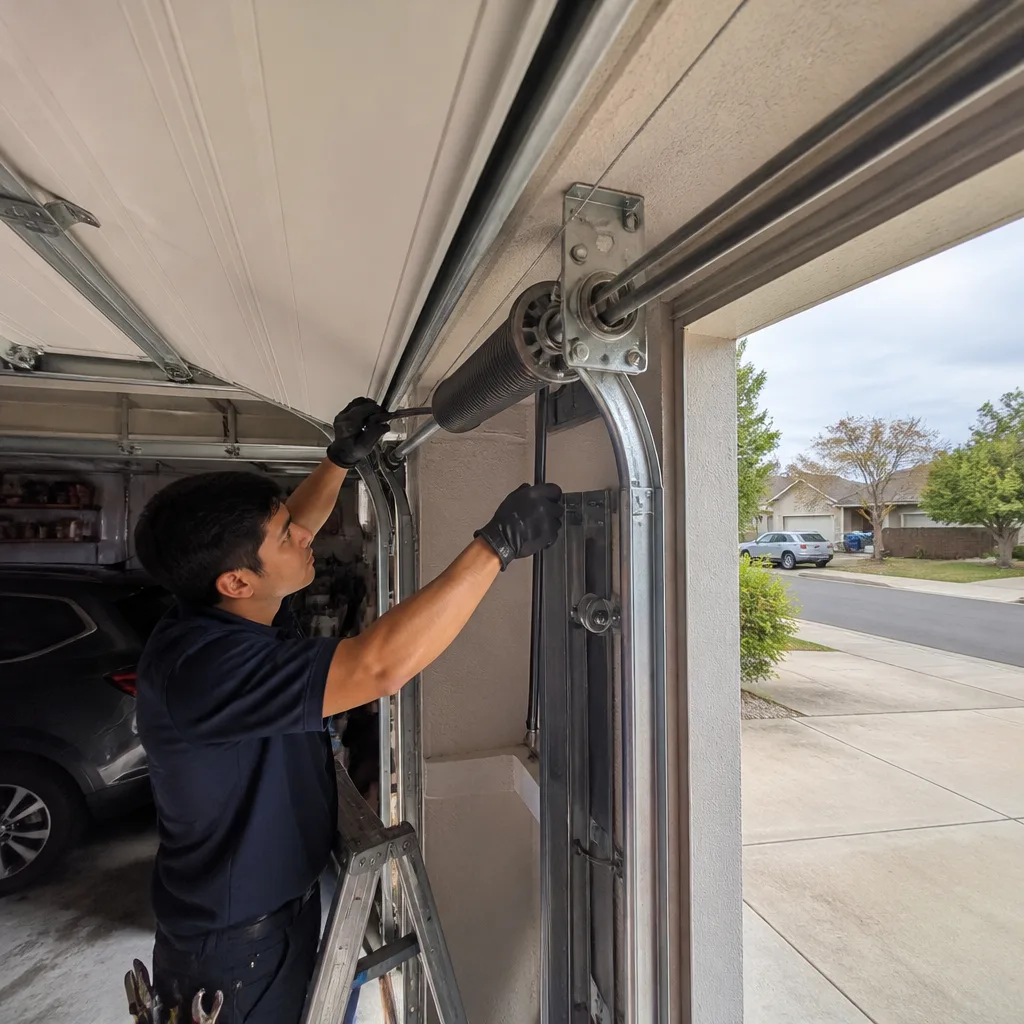 After
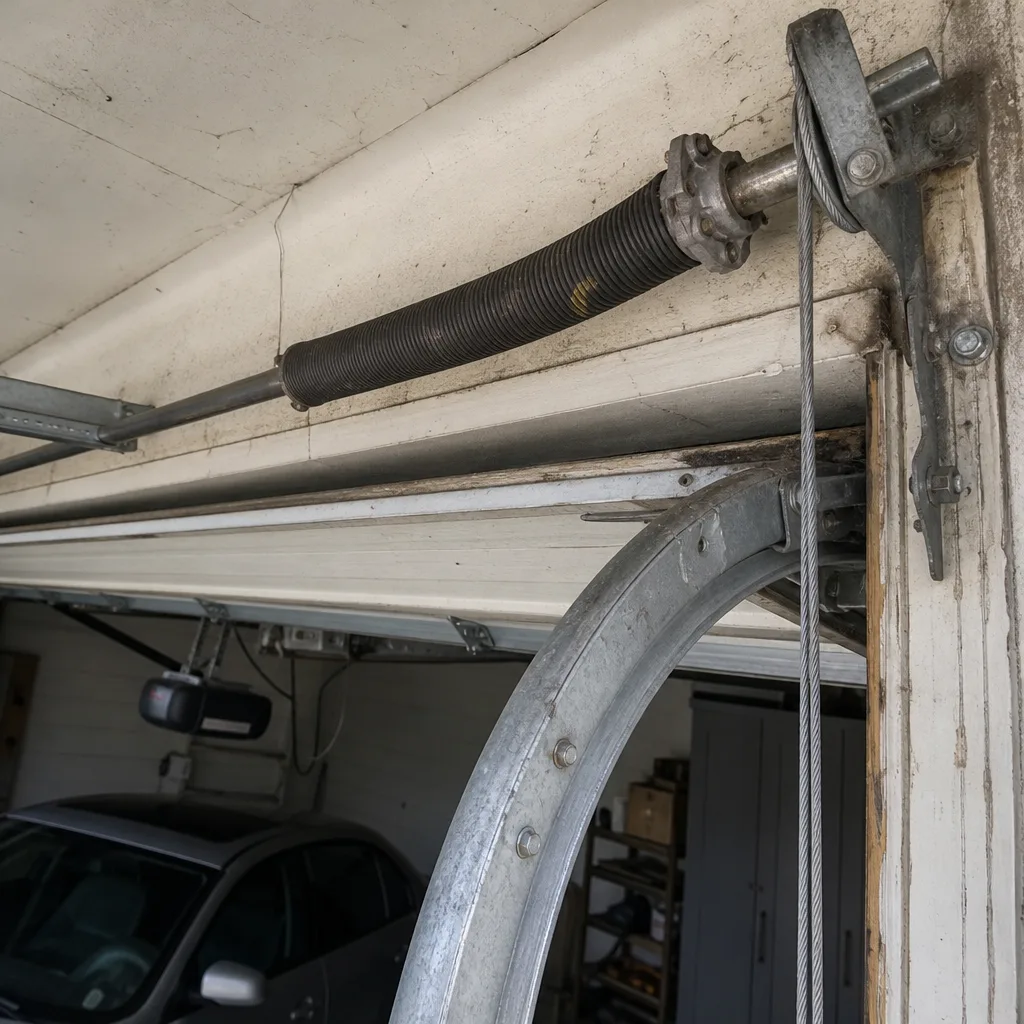 Before
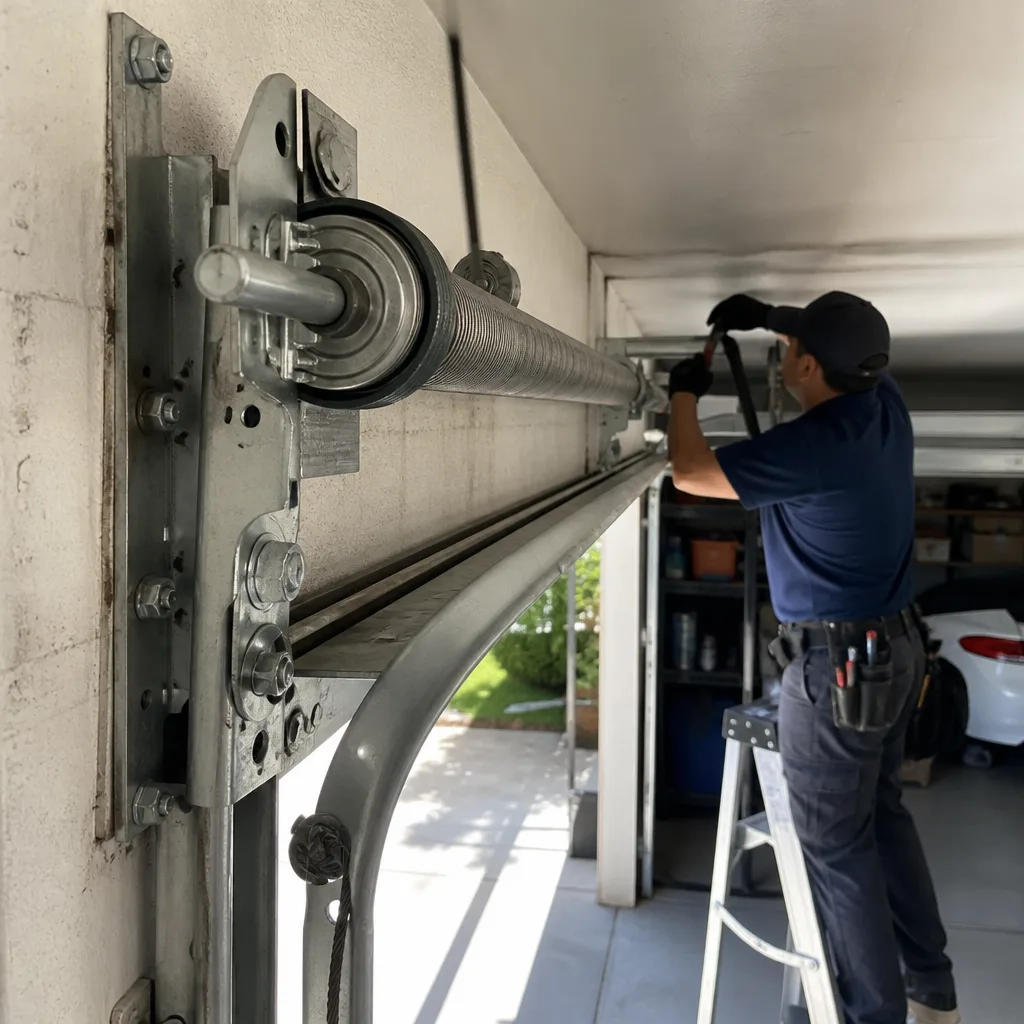 After
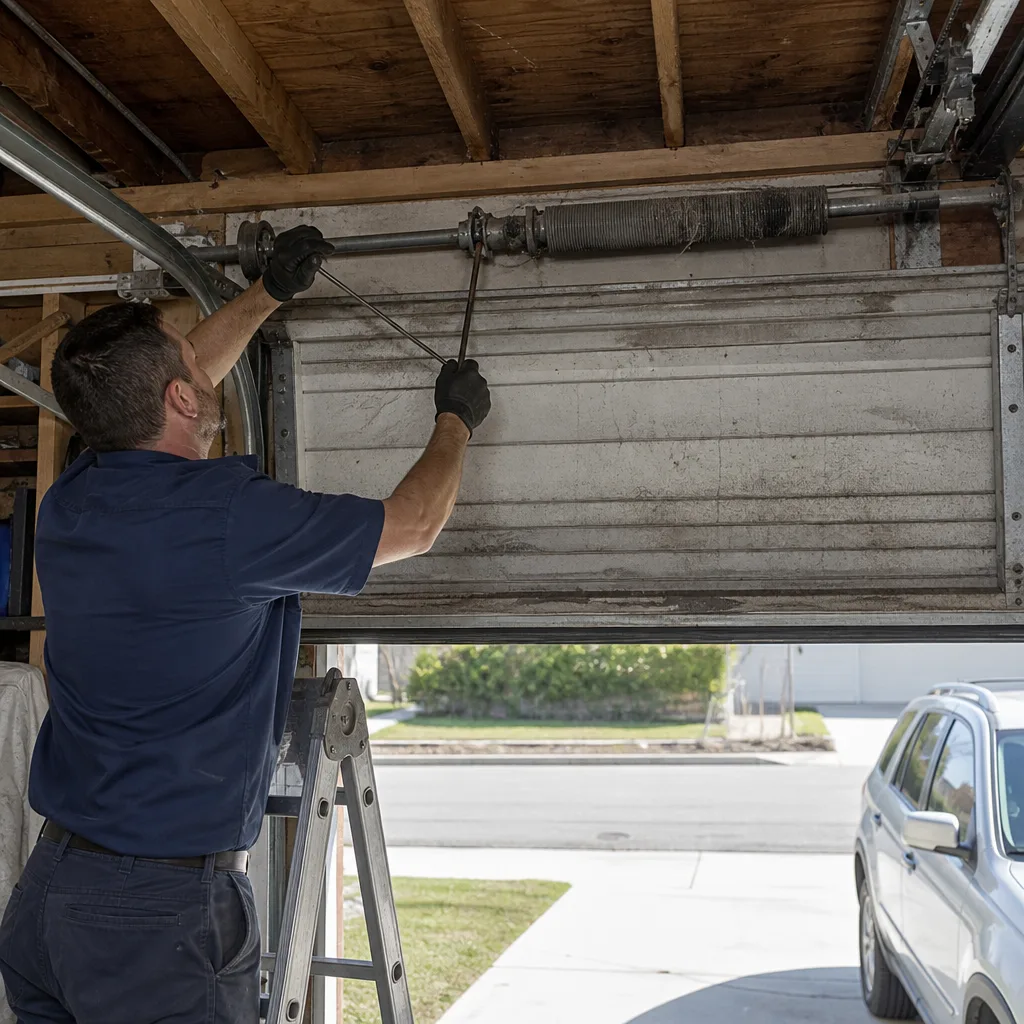 Before
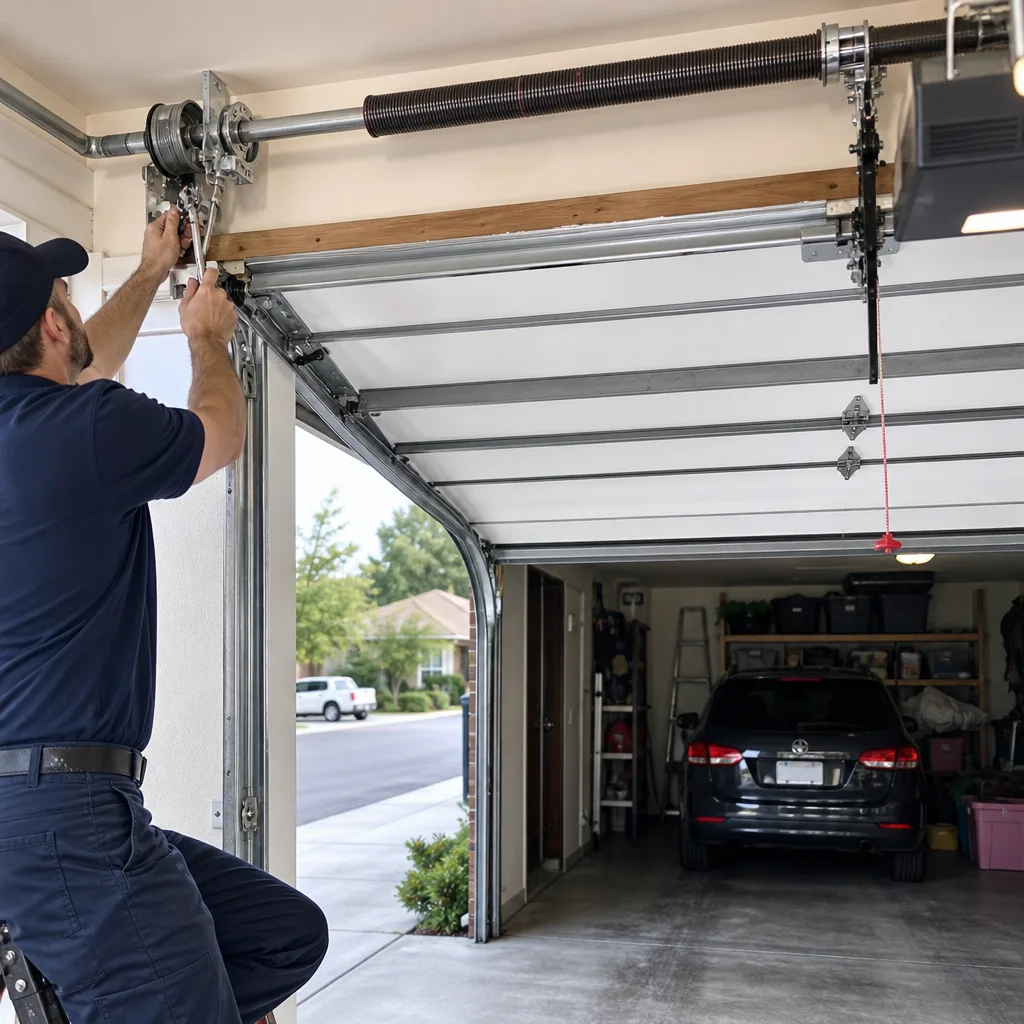 After
Common Mistakes to Avoid
- Using WD-40 as a lubricant: WD-40 is a water-displacing solvent, not a lubricant. It removes moisture and leaves metal dry, which accelerates rust in Camarillo’s salt air. Use a silicone spray or white lithium grease instead.
- Lubricating once a year because the manual says so: Manufacturer intervals assume a neutral climate. Homes within five miles of the coast need quarterly lubrication, especially on metal rollers and springs.
- Ignoring a door that drifts downward when released: A door that won’t hold position at waist height has weakening springs. Waiting until the spring snaps means a heavier opener load and a door stuck either open or closed.
- Testing the auto-reverse with your body or a visible object: The proper test uses a solid object like a roll of paper towels or a piece of lumber. Testing with your hand is both inaccurate and unsafe.
- Tightening bolts without checking track alignment: A loose bolt is often a symptom of an alignment problem, not a cause. Tightening hardware on a misaligned track makes the underlying issue worse over time.
- Replacing weather seals without cleaning the track they sit in: Debris in the seal channel prevents a proper fit. The new seal fails within months despite being the correct part.
- Skipping the annual professional inspection because nothing seems wrong: The components most likely to fail, torsion springs and cables, show subtle warning signs invisible to an untrained eye. The inspection cost is trivial compared to an emergency repair or a damaged door panel.
When to Call a Professional
Some maintenance tasks are genuinely DIY-friendly: lubricating hinges, replacing a bottom seal, testing the auto-reverse, checking balance with the emergency release. Others are not. If you notice any of the following, stop and call a professional:
- Frayed cables or visible cable wear anywhere on the system.
- A snapped or visibly stretched torsion spring.
- A door that consistently drifts downward during the balance test.
- Bent or misaligned tracks.
- An opener that fails the auto-reverse or sensor test after calibration.
- Multiple rollers worn or broken at the same time.
- A door that binds, jerks, or makes grinding noises during operation.
Garage door repair in Camarillo involving springs or cables should always involve a trained technician. The stored energy in a torsion spring is not something to learn about through trial and error. For homeowners considering a replacement rather than a repair, installation in Camarillo is a separate conversation with different considerations. Statesman Garage Door Repair offers free estimates in Camarillo. Call (855) 341-8382 and describe what you’re seeing. We’ll tell you whether it’s urgent, whether it can wait, and what the repair actually involves.
Frequently Asked Questions
Every three months is the correct interval for most Camarillo homes, not the twelve-month interval listed in many manufacturer manuals. Coastal humidity and salt air oxidize metal rollers and hinges faster here than in inland climates. Use a silicone spray or white lithium grease, never WD-40. Call (855) 341-8382 for a maintenance walkthrough if you’re unsure which components need lubrication on your specific door.
DIY monthly and quarterly maintenance costs under $20 per year for silicone lubricant and replacement seals when needed. A professional annual inspection and tune-up typically runs between $85 and $150 depending on the door type and opener model. Spring replacement, when needed, runs $220 to $350 per spring in Camarillo. The maintenance cost is small compared to emergency repair costs, which escalate when a snapped spring damages panels or pulls cables through the drums. Call (855) 341-8382 for an exact quote on your specific door.
No. Torsion springs store enough energy to cause severe injury or death if mishandled. The winding process requires specialized bars and precise technique that takes professional training to develop. This is not a cost-saving opportunity. Hire a licensed professional for spring work. The balance test described in this guide tells you when springs are failing without requiring you to touch them.
The three primary early-failure factors in Camarillo are coastal salt-air corrosion on rollers and hinges, heat fatigue on west-facing torsion springs, and dust abrasion from Santa Ana winds. Homes close to the ocean see faster rust development. Homes with west-facing garages see faster spring fatigue. Homes that skip quarterly lubrication compound all three factors. The good news: all three problems respond to the maintenance schedule outlined in this guide.
Place a roll of paper towels or a piece of 2×4 lumber flat on the floor in the door’s closing path. Close the door with the opener. The door should contact the object and immediately reverse. If it does not reverse, or if it hesitates, the force setting is too high. Test the infrared sensors by waving your hand through the beam while the door closes. If either test fails, call (855) 341-8382. A door that fails these tests is unsafe.
Yes, once a year. The components most likely to fail, torsion springs and cables, show warning signs that require trained eyes and often require removing covers or looking behind hardware. A professional inspection catches spring fatigue, cable wear, and track misalignment before they become breakdowns. It also catches opener calibration drift that affects safety. The annual inspection cost is significantly less than an emergency repair.
The Bottom Line
Garage door maintenance in Camarillo is a climate-specific discipline, not a generic chore. The monthly five-minute walkthrough, the quarterly lubrication schedule, and the annual professional inspection form a system that catches failures before they happen. The three components that fail first in this climate are rollers, springs, and weather seals. All three respond to early detection. The auto-reverse test protects your family. The spring tension test protects your budget. None of this requires special tools or advanced skills, but all of it benefits from a consistent schedule. Statesman Garage Door Repair is based in Camarillo and works on doors and openers from Clopay, Amarr, Wayne Dalton, Craftsman, and other major brands. If you find something during a maintenance check that you don’t like the look of, call (855) 341-8382. Describe what you see. We’ll tell you whether it’s urgent.
Written by the team at Statesman Garage Door Repair, serving Camarillo since 2018.