
Last updated November 2, 2026
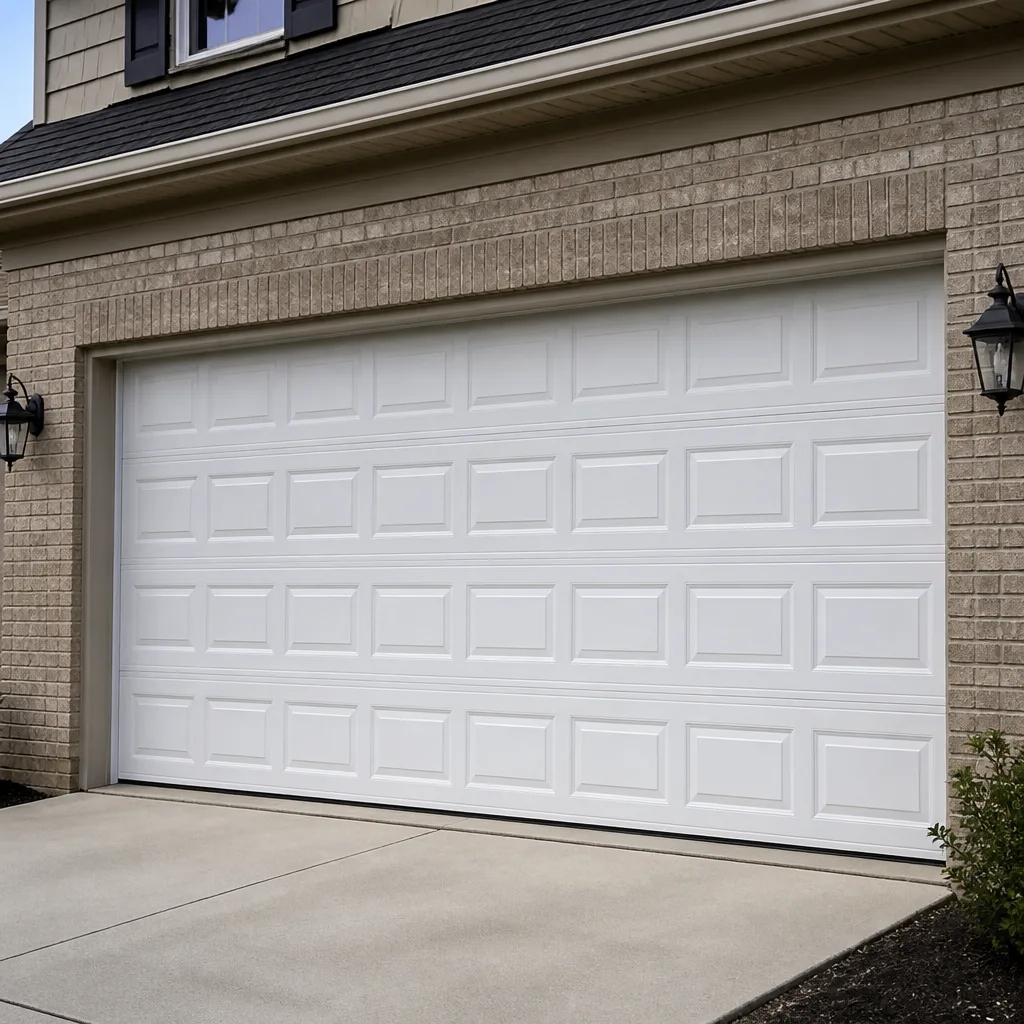 Raised-panel steel
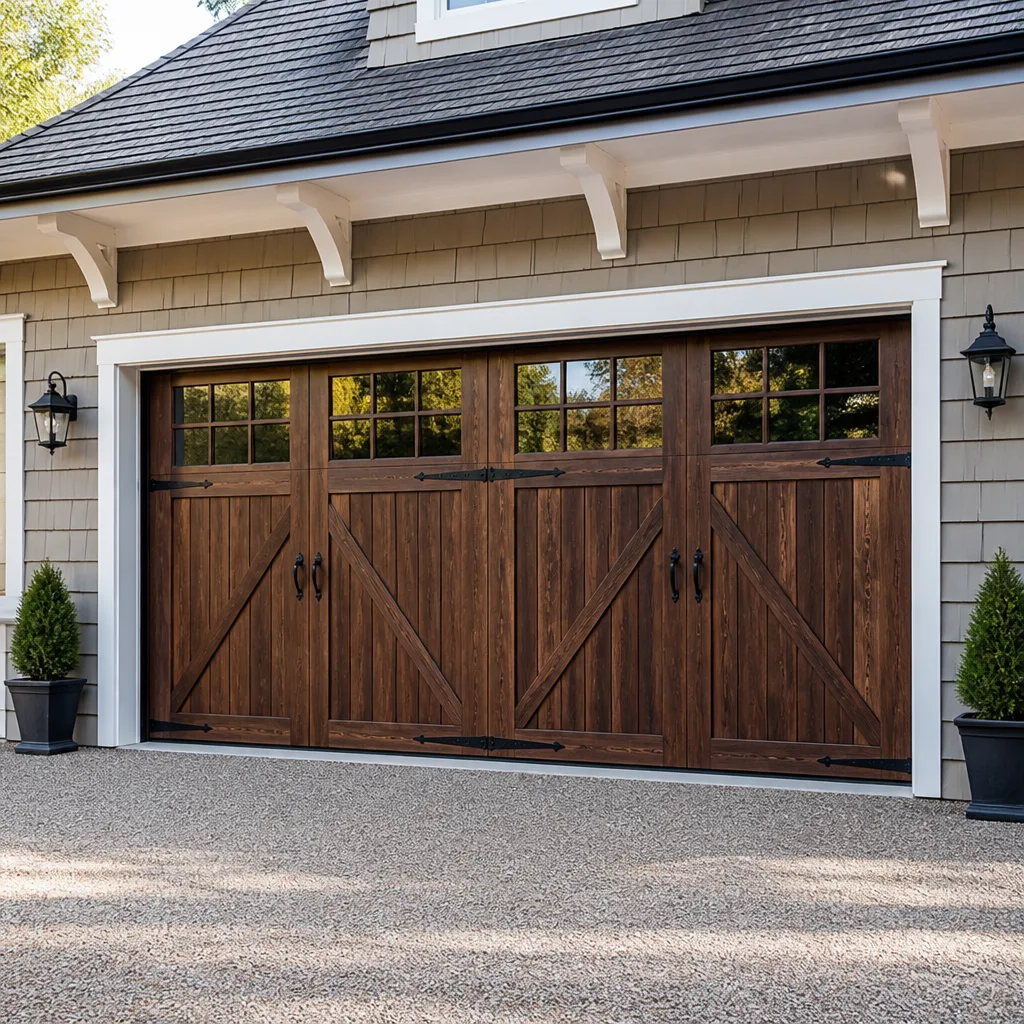 Carriage house
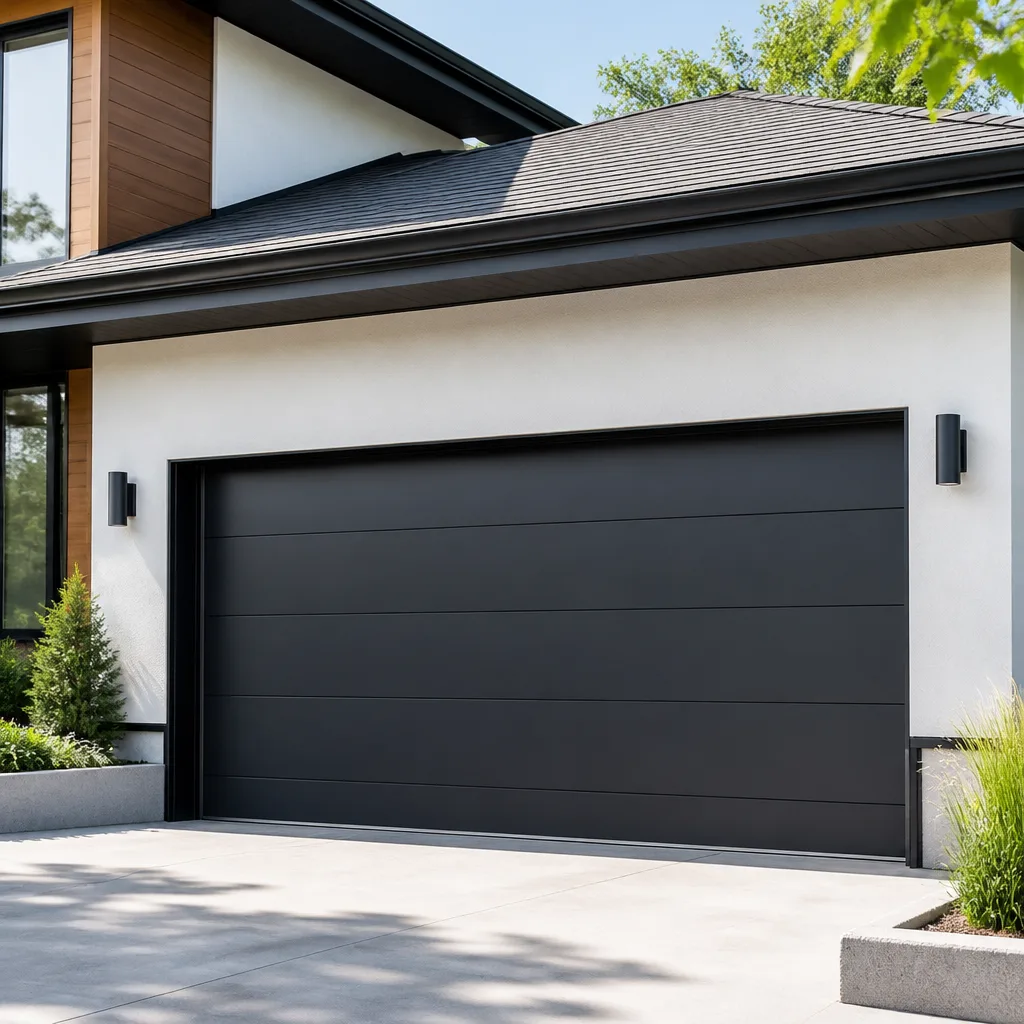 Modern flush
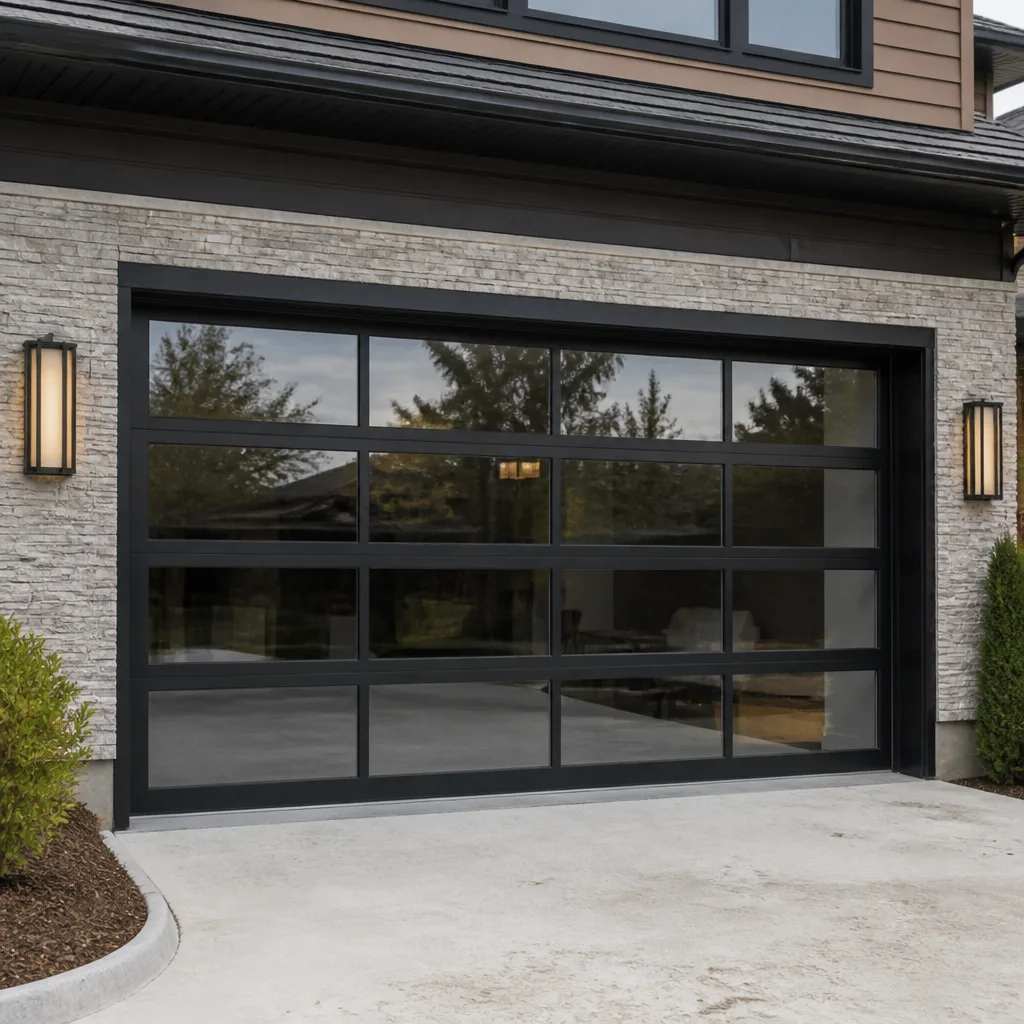 Full-view glass
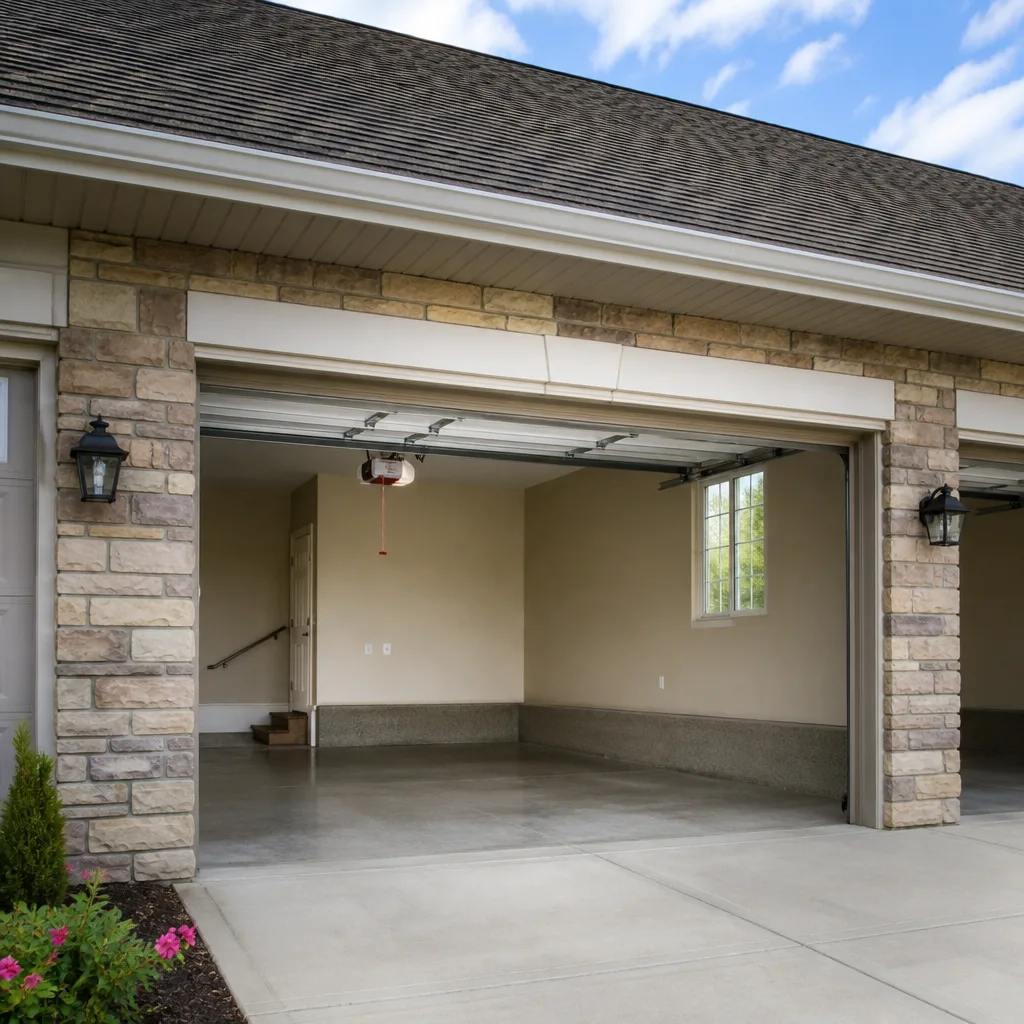 LiftMaster openers
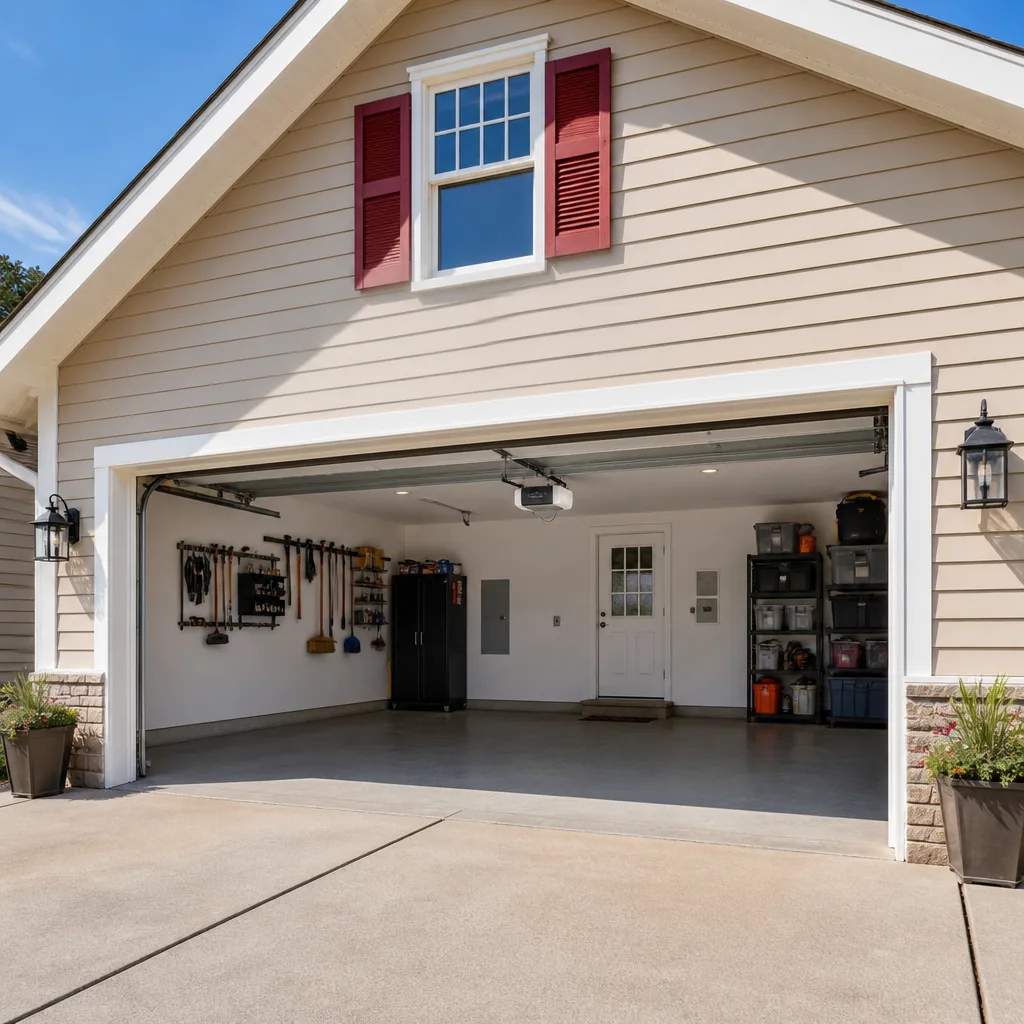 Chamberlain openers
Full 25-point door and opener safety check with every visit - springs, cables, rollers, tracks, and your LiftMaster or Chamberlain opener included
You get a price before we start. It does not change when the truck arrives.
Get your free estimateGarage Door Warning Signs: A Camarillo Homeowner’s Reference Guide
A torsion spring under full tension stores roughly the same energy as a small car traveling at 10 miles per hour. When it snaps, all of that force releases in under a second. The unsettling part is that the spring almost always telegraphs its failure for weeks beforehand with visual and audible clues, but without a reference point, most Camarillo homeowners register those warnings as “the door’s always made that noise” and move on. This guide gives you that reference point: a framework for separating normal operation from genuine danger signs, understanding what each specific sound and visual cue implicates, and knowing exactly when to stop using the door and pick up the phone. For related reading, see our How to Hire a Garage Door Contractor in Camarillo: A Step-by-Step Guide.
Styles & brands we work with
- Raised-panel steel
- Carriage house
- Modern flush
- Full-view glass
- LiftMaster openers
- Chamberlain openers
Quick Answer
Garage door warning signs fall into three tiers: immediate hazards that mean stop using the door now (visible spring gap separation, frayed lift cables, a door that jerks or hangs unevenly mid-travel), service-call issues that should be addressed within a week (grinding, popping, or rhythmic scraping sounds, a door that reverses before hitting the floor, visible rust banding on springs), and monitor-on-maintenance items that you document but don’t yet act on (hairline rust, slight slowdowns in winter months, occasional thumps from the tracks). In Camarillo’s coastal air, rust and corrosion accelerate on springs and cables faster than inland, which means visual inspections deserve more weight here than they might in a drier climate.
Table of Contents
- The Triage Framework: Three Tiers of Warning Signs
- Sound Diagnostics: What Each Noise Actually Implicates
- Visual Inspection of Torsion Springs: What to Look For
- Opener Behavior as a Diagnostic Tool
- The 30-Second Balance Test
- Camarillo Climate Factors: Why Coastal Air Changes the Calculus
- Brand-Specific Notes: LiftMaster, Chamberlain, Genie, and Clopay
- Common Mistakes to Avoid
- When to Call a Professional
- Frequently Asked Questions
- The Bottom Line
The Triage Framework: Three Tiers of Warning Signs
Not every garage door warning sign deserves the same response. A squeal that occurs for two seconds on a cold morning is a fundamentally different situation than a torsion spring that shows visible gap separation. We group every symptom into one of three tiers, and understanding the difference between them is what prevents a $90 service call from becoming a $1,400 emergency repair.
Tier 1: Stop Using the Door Now
These symptoms indicate components under tension that have already begun to fail, or structural issues that could result in the door falling. When you see any of these, disconnect the opener if you can do so safely and call for service before the door moves again.
- Visible gap separation in a torsion spring: When the spring’s coils no longer sit flush against each other and you can see clear daylight through a gap, the spring has lost tension and is in the process of failing. This is not a cosmetic issue; it is a time-to-failure situation.
- Frayed or unraveling lift cables: Steel cables don’t fray from age alone. If you see individual wire strands separating from the cable’s main body near the bottom bracket or drum, the cable is actively failing. A snapped cable means the full weight of the door transfers to whatever remains attached, and the result is typically a door crashing down.
- A door that hangs visibly uneven when partially open: If you stop the door halfway and one side sits two inches or more lower than the other, a cable has slipped, a spring is losing load, or a bracket is bending. Continuing to cycle the door makes the damage worse quickly.
- A loud bang or snap sound while the door is moving, followed by the opener running but the door not moving: This is the sound of a torsion spring breaking at full tension. The opener will strain and may produce a grinding noise. Do not attempt to open the door manually; the remaining spring (if only one broke) is under even more stress.
Tier 2: Call for Service Within a Week
These symptoms will not necessarily result in catastrophic failure in the next cycle, but each one indicates a component degrading under load. Waiting weeks or months converts these into Tier 1 failures.
- Grinding, popping, or metallic scraping sounds during operation: Each sound points to a specific mechanical problem, which we cover in the sound diagnostics section below. The common thread is metal-on-metal contact or bearings losing their lubrication and seating.
- A door that reverses before reaching the floor, even when nothing blocks the sensor: This typically means the opener’s force settings are exceeding their threshold because the door is binding. The mechanical problem is real; the opener is responding correctly to it.
- Rust banding across more than 30% of a torsion spring’s surface: Coastal air accelerates corrosion, and once rust penetrates the spring’s surface hardening, pitting begins. Pitted springs develop stress fractures at the corrosion points.
- A door that shudders or vibrates violently at a specific point in its travel: This often indicates a bent track section, a warped roller, or cables that are overlapping on the drum. The shaking transfers stress to every bracket and hinge on the door.
Tier 3: Monitor and Document
These symptoms warrant attention at your next maintenance cycle but don’t yet indicate active degradation that will affect performance in the short term.
- Hairline rust on springs or hardware without banding or pitting: Surface rust that has not penetrated the metal can often be addressed with consistent lubrication and monitoring. What you’re doing is establishing a baseline for comparison.
- Mild seasonal slowdowns, particularly in winter: Cold temperatures thicken lubricant and stiffen metal, making the opener work marginally harder in late fall and winter in Camarillo. A slowdown that persists into warm weather moves this into Tier 2.
- Occasional thumps or rattles that don’t recur consistently: Loose hardware announces itself intermittently at first. Not every door noise is a mechanical failure; some are simply bolts that need occasional tightening.
- Slight squeaking during the first foot of travel only: This often indicates a roller bearing’s lubricant has thinned or a track surface needs cleaning. If the squeak occurs through the entire travel, move it to Tier 2.
Sound Diagnostics: What Each Noise Actually Implicates
Garage doors communicate primarily through sound, and the vocabulary is more specific than most homeowners realize. A grinding sound and a squealing sound are not different intensities of the same problem; they originate from entirely different mechanical processes. Learning the distinctions gives you an accurate diagnostic tool before any technician arrives.
Grinding is metal scraping against metal without the mediation of lubrication or a bearing surface. The most common sources in a garage door system are roller bearings that have seized, a chain drive on the opener that has lost tension and is sliding across the sprocket, or a torsion spring rubbing against the spring pad or center bracket. Grinding that originates from the opener unit itself typically points to a gear and sprocket assembly that is stripping its teeth, a common failure mode on older Chamberlain and LiftMaster chain-drive units. Grinding from the door tracks points to rollers.
Squealing is metal sliding across metal at high frequency while still under some degree of lubrication or surface smoothness. It typically originates from hinge pivot points that have dried out, rollers whose bearings have lost their internal grease, or a belt-drive opener whose belt tension has shifted. A squeal that only occurs during specific points in the travel arc usually points to a specific hinge; the sound stops when that hinge’s load angle changes.
Popping is distinct and often alarming the first time a homeowner hears it. It sounds like two pieces of metal snapping past each other under tension. In torsion spring systems, popping frequently indicates the coils are binding against each other or against the spring anchor bracket as the spring rotates. Popping can also emerge from cables that are momentarily catching and releasing on the drum’s grooves. A rapid series of pops that becomes louder over multiple cycles is a Tier 1 signal: the spring is binding in a way that can accelerate fatigue cracking.
Rattling is the loosest, least specific sound, and it is also the one homeowners most often overdiagnose. Loose track bolts, worn roller stems that no longer seat tightly in their hinges, and opener chain slack all produce rattles. The diagnostic question is consistency: a rattle that occurs at the same point in every cycle points to a specific structural point; a rattle that comes and goes based on temperature points to thermal expansion in the rail. In Camarillo, where day-to-night temperature shifts rarely exceed 20 degrees, rattles that appear and disappear with weather often trace to opener rail mounts rather than the door itself.
What to do with the sound you’ve identified: document it, ideally with a short video on your phone. The video gives a technician two things: the sound itself, and the exact point in the door’s travel where it occurs. That combination is frequently enough to pre-diagnose the repair before a truck rolls. If any grinding or popping sound has changed in character or intensity in the last two weeks, treat it as Tier 2 and schedule service while the repair is still a couple hundred dollars rather than a full spring or opener replacement.
Visual Inspection of Torsion Springs: What to Look For
Torsion springs are the most dangerous individual component of any garage door system, but they also offer the clearest visual evidence of their condition. What follows describes inspection from a safe distance: no touching, no poking, no removing hardware. Your eyes are the tool.
Rust banding is the most common visual warning sign in Camarillo. The salt-charged air off the Pacific accelerates oxidation year-round, and torsion springs lose their factory surface treatment progressively. What you’re looking for is not the presence of rust (nearly every spring past year five shows some) but the pattern. Uniform surface oxidation across the entire spring is monitor-level. Banding, which means concentrated rust in distinct rings traveling perpendicular across the coils, points to stress concentration at those specific points. The spring is telling you where its flex folding is occurring, and where pitting will eventually produce a fatigue fracture.
Gap separation is the most reliable predictor of imminent failure. A healthy torsion spring exhibits coils that sit flush against each other, touching edge to edge along the entire length of the spring. When you can see daylight between any two adjacent coils while the door is closed, the spring has begun to yield. A gap of an eighth of an inch is the threshold at which we recommend replacement. Anything wider means the spring is actively unwinding and transferring load to whatever structure remains. Once you see a gap, every cycle the door completes brings the failure closer.
Coil deformation presents in two forms. The first is a coil that has bent outward, creating a slight kink in the line of the spring when you sight down its length. The second is expansion of the spring’s overall diameter at one specific point, which looks like the spring is slightly pregnant. Both indicate the steel has exceeded its yield strength at that location, which means the structural integrity of the entire spring is compromised. You cannot repair a deformed torsion spring. You replace it, and ideally both springs at once, since the non-failed spring on a two-spring door has accumulated the same cycle count and is the next one scheduled to fail.
What a healthy spring looks like right now: coils uniformly spaced, consistent diameter end to end, surface finish mostly intact with at most light surface rust, and no visible gap between coils when the door is closed. If your springs are older than seven years and you have not inspected them, do this examination once a month. In our experience, Camarillo homeowners who inspect springs monthly catch failures in the gap-formation stage, when a $300 spring replacement is still the entire repair, rather than discovering a snapped spring at 7:15 a.m. with the car trapped inside the garage.
Opener Behavior as a Diagnostic Tool
Your opener is not just the motor that moves the door; it is also the most sensitive diagnostic sensor in the system. Modern openers from LiftMaster, Chamberlain, and Genie have built-in force monitoring that measures how hard the motor works to move the door through each segment of travel. When a mechanical problem elsewhere in the door system creates additional resistance, the opener detects it and adjusts its behavior. Reading those adjustments tells you a great deal about what’s failing.
A door that reverses unexpectedly on the way down is one of the most commonly misunderstood warning signs in garage door diagnostics. The homeowner sees the reversal and assumes the opener is acting up. In most cases, the opposite is true: the safety reversal is triggering because the opener’s force sensor has detected that the door is binding, and the opener is refusing to force a door through resistance that could crush something. The underlying cause could be a roller seizing, a track that has been bent inward, a cable developing slack on the drum, or a spring that has lost enough tension that the door is partially falling rather than descending under control. Treat the reversal as a symptom, not the problem.
A door that moves noticeably slower than it did six months ago tells the same story in a different rhythm. Opener motors are constant-torque designs; they don’t gradually lose power over months. When run time increases, the motor is working harder to overcome increased mechanical resistance. The resistance comes from the door system: deteriorating rollers, track misalignment, or, most commonly, springs that are losing their counterbalance force and making the opener do more of the lifting. In Camarillo’s relatively mild temperatures, cold-weather slowdown is a less plausible explanation than it might be in the high desert, which means a slowdown here points more firmly toward mechanical resistance.
An opener that runs noticeably longer than it used to is measuring hysteresis: the delay between the motor putting force into the system and the door’s movement responding. As springs weaken and cables develop slack, the door hangs more heavily on the opener’s connection points, and the opener takes longer to establish enough tension to move the door at all. This run-time creep is quantifiable: time the door across three cycles and note the average. Check again in three months. If the average is trending upward, your springs are not getting stronger, and the trend only accelerates.
Our approach to opener diagnostics at Garage Door Opener Repair in Camarillo is to treat every behavioral change as a system-level signal. The opener is usually doing its job correctly; it is the other mechanical components that have drifted out of spec. That’s why we service openers from all eight major brands, including LiftMaster, Chamberlain, Genie, and the rest, alongside the doors and springs they’re coupled to. A technician who understands the whole system reads the opener’s behavior as a diagnostic, not just a malfunction to be reset.
The 30-Second Balance Test
The balance test is the single highest-value diagnostic procedure a homeowner can perform, because it isolates the torsion spring system (the counterbalance) from the opener entirely. You are testing whether the springs are doing their job, which is to hold the door at the midpoint of its travel unassisted.
Here’s the procedure. It requires no tools and no contact with moving components beyond the door handle.
- Disconnect the opener. Pull the red emergency release cord hanging from the opener rail. This disconnects the door from the drive mechanism, so the opener is completely out of the equation.
- Move the door to the halfway point by hand. Use the interior handle or the door’s bottom edge. Raise it approximately to waist height, which is the midpoint of travel for nearly all residential doors.
- Let go. Remove your hands entirely. Watch what the door does.
- Interpret the result. A properly balanced door stays at the halfway point or drifts no more than an inch up or down, then stops. A door that drifts downward is telling you the springs have lost tension and can no longer support half the door’s weight. A door that drifts upward is telling you the springs are over-tensioned, which means they’re storing excess energy and fighting the door’s natural travel.
- Repeat in reverse. Move the door to halfway again, then try raising it a few inches and lowering it a few inches. Note whether the door resists movement differently in each direction, or whether it tends to run away from you in either direction.
Interpreting failure: any drift of more than two or three inches in either direction means the spring system is out of balance. Downward drift is the classic weakening-spring profile; upward drift often means someone added tension to compensate for a weakening spring, which accelerates fatigue failure. Neither condition improves over time, and both will eventually exceed the opener’s force compensation limits.
Do this test quarterly. It takes less than a minute total, and it gives you a documented trend line rather than a snapshot. The distinction matters because spring fatigue is progressive; a door that drifts one inch in January and three inches by April is sending you an unambiguous message. The balance test requires no contact with the springs, cables, or track hardware, which is why it is the one diagnostic procedure we recommend every Camarillo homeowner learn and perform regularly.
Camarillo Climate Factors: Why Coastal Air Changes the Calculus
Garage door warning signs do not have the same urgency in every geography, and Camarillo’s specific climate warrants adjustment from what generic garage door guides recommend. See our Seasonal Garage Door Care for Camarillo: Year-Round Homeowner’s Guide for a maintenance calendar tailored to local conditions. The marine layer and coastal air that define Camarillo’s weather pattern affect metal fatigue, lubrication, and opener behavior in measurable ways.
Corrosion acceleration is the headline factor. The same salt-charged marine air that keeps Camarillo pleasant through the summer accelerates oxidation on steel components year-round. Torsion springs, cables, track rails, and hinge pins all carry the load. A spring that might show only light surface rust after eight years in a dry inland climate can show banding-level corrosion in five or six here. This means the typical “replace your springs at the 10-year mark” advice is optimistic for Camarillo. The inspection pattern we recommend is more frequent, and the threshold for treating rust as serious is lower.
Temperature swing is the second factor. Camarillo’s day-to-night differential is modest, but the seasonal shift from summer to winter does affect metal tolerances and lubricant viscosity. Cold lubricant thickens, which increases opener effort modestly through the winter months. What matters for diagnosis is trend identification: if you notice a slowdown in December and it resolves by March, that’s thermal. If it persists into June, that’s mechanical resistance and you should treat it as a Tier 2 signal.
Marine layer humidity also affects lubrication intervals. The fog that rolls through Camarillo nights deposits moisture on exposed metal surfaces, which mixes with existing lubricant and gradually thins it. Hinges, rollers, and spring coils need re-lubrication more frequently here than in arid environments. A hinge that emits a high-frequency squeal is often simply a lubrication failure, and addressing it early prevents the metal-on-metal wear that eventually destroys the hinge pin.
The practical result: Camarillo homeowners should run the balance test every quarter, inspect spring surfaces monthly, and treat any new sound with more urgency than someone in Bakersfield or Palmdale might. The climate is not doing your hardware any favors, and the early warning signs show up sooner and louder here.
Brand-Specific Notes: LiftMaster, Chamberlain, Genie, and Clopay
Most garage door warning signs are brand-agnostic, but a handful are specific to particular manufacturers. Recognizing which warnings are generic and which are known failure patterns for your specific equipment helps with decisions about repair versus replacement.
LiftMaster and Chamberlain share a common engineering lineage and many of the same failure modes, particularly on chain-drive units built in the last fifteen years. The gear and sprocket assembly inside the motor head is a known wear point, and it announces itself with a grinding sound that comes from the opener unit itself rather than from the door. The sound is often described as “rocks in a blender.” If a LiftMaster or Chamberlain opener is producing grinding from the motor head, stop running it and call for opener service immediately; continued operation accelerates the damage. These brands also feature travel modules and force sensors that can drift out of calibration over time, which manifests as a door that doesn’t fully open or close. A unit that reverses consistently at the same point on the track despite no visible obstruction likely has a limit-switch problem, not a door problem.
Genie openers use a different drive mechanism on many models, including screw-drive and belt-drive units that don’t share the Chamberlain-family gear failure pattern. Genie-specific warnings to watch for include carriage release mechanisms that develop slack over time, producing a clunking sound at the start of travel, and wall console panels that lose communication with the motor head, which often presents as intermittent non-response rather than a door issue. Genie units also tend to show their age through capacitor wear, which produces a humming sound from the motor without the trolley moving. That’s an electrical failure, not a mechanical one, and it’s usually repairable without replacing the opener.
Clopay doors represent a meaningful share of Camarillo’s residential garage doors, and their layered construction creates a diagnostic pattern that differs from single-panel steel doors. Laminated sections can develop internal delamination before the visible skin shows damage, and the warning sign is a shifting rattle that follows the door through its motion, particularly at the section joints. Clopay torsion spring systems on doors installed by volume builders are often undersized for the door’s weight class, which means spring fatigue presents earlier in the door’s life than the age-based guidance would predict. If a Clopay door under eight years old is showing balance-test drift, suspect the spring sizing rather than the installation date.
This brand familiarity is a core part of what Statesman Garage Door Repair home brings to every Camarillo service call. When a technician can identify a Clopay section joint by its profile or a Chamberlain force-sensor behavior by its pattern, the diagnostic process is shorter and the repair recommendation is more precise. Brand fluency is not a marketing talking point; it’s the difference between swapping parts until something works and fixing the right component the first time.
Common Mistakes to Avoid
- Lubricating a noisy spring as a first response. Squealing springs often indicate coil binding or insufficient internal lubrication, but adding spray lubricant to a spring with visible gap separation masks the symptom rather than addressing the structural fatigue. The spring will still fail; you’ve just delayed your awareness of it.
- Assuming the opener is the problem when the door reverses or slows. The opener’s force sensing and safety reversal features are functioning correctly in most of these cases. The mechanical issue is in the door system. Replacing or resetting the opener ignores the actual problem until it grows.
- Treating visual inspection as optional because a failure has never happened. Every spring that snaps in Camarillo has never snapped before. Past reliability is not evidence of current integrity, particularly once a spring passes the seven-year mark or shows rust banding.
- Attempting DIY spring or cable work. The stored energy in a torsion spring is lethal. No amount of YouTube research changes the force dynamics. Even a partially unwound spring can release enough energy to cause severe injury. This is genuinely dangerous work that requires specialized tools and procedures, and the cost of professional service is trivial compared to the risk.
- Delaying a balance-test diagnosis because the door “still works.” A door that drifts downward on the balance test is a door whose opener is being asked to do work it was never designed for. The opener will eventually fail from overload, and the spring will eventually fail from fatigue. The warning sign is active right now.
- Replacing one spring on a two-spring door as a cost-saving measure. Both springs on a door wear at identical rates, because they cycle together every single time. Replacing only the failed spring means the remaining one is at the same cycle count and will fail in months, likely at the least convenient time. Replace both, and the door is actually restored to spec.
- Ignoring garage door noises as ambient household sound. Camarillo homes often have garage doors that open into living spaces directly, which makes the sounds more familiar and easier to tune out. But a grinding noise that you’ve “gotten used to” is still grinding. Your ear is the earliest warning system you have; don’t deliberately disable it.
When to Call a Professional
The line between “monitor this” and “call someone” comes down to what’s on the other side of a failed component. Springs, cables, and the door’s connection hardware all hold the entire weight of a door that typically weighs 150 to 250 pounds. When any of these components reach the end of their service life in Camarillo, the failure mode is rarely graceful. It’s a snapped cable, a crashed door, a broken bracket that bends the track and jams everything in place.
Call when you see any Tier 1 sign, and don’t wait out a Tier 2 signal beyond the week window we recommended above. You are not saving money by delaying a spring replacement; you are pre-paying for a more expensive repair that also carries a greater chance of secondary damage. Garage Door Repair in Camarillo through Statesman Garage Door Repair includes free estimates, and every price is quoted and agreed before any work begins. Call (855) 341-8382 if you’ve noticed any of the warning signs in this guide and want a trained professional to take a look.
Frequently Asked Questions
Gap separation in a torsion spring is the most commonly missed warning sign, primarily because homeowners rarely look at their springs and wouldn’t recognize a developing gap if they did. In Camarillo, where coastal air accelerates spring corrosion, gap formation often occurs 30 to 60 days before the spring snaps, which is an easily actionable window if the inspection happens. Run the visual inspection we outlined above once a month, and call (855) 341-8382 if you see light between coils.
Torsion spring replacement in Camarillo typically ranges from $280 to $450 for a single spring and $450 to $650 for both springs on a two-spring door, including labor. The exact cost depends on the spring’s wire size, length, and whether the door uses standard or high-cycle springs. Statesman Garage Door Repair quotes the full price before any work starts, and a free estimate is always available by calling (855) 341-8382.
No, you should stop using the door and schedule a service call as soon as you hear consistent grinding. Grinding indicates metal-on-metal contact without adequate lubrication or bearing surface, and every additional cycle compounds the damage to whatever component is grinding. If the grinding is coming from the opener motor head, continued use can destroy the gear assembly and turn a small repair into a full opener replacement.
Run the balance test quarterly and perform the visual spring inspection monthly. For additional guidance, browse more guides & resources on our blog. Camarillo’s coastal air means corrosion and spring fatigue develop faster here than in inland Southern California, so the monthly spring check and quarterly balance test are the right cadence for this specific climate. Between formal checks, treat any new sound or behavioral change as a signal worthy of attention within the week.
At Statesman Garage Door Repair, the price quoted before any work begins is the price you pay. We diagnose the door, confirm the repair scope, and agree on the exact figure with you before moving forward. If we discover additional issues during the diagnostic, we’ll show you what we found and provide a revised quote before any work proceeds. Call (855) 341-8382 for a free estimate on any garage door issue in Camarillo.
Yes, our service vehicles in Camarillo are stocked with the most common torsion spring sizes, cables, rollers, hinges, and opener components across the brands we service, including Clopay, LiftMaster, Chamberlain, and Genie. Most warning-sign repairs are completed in a single visit, because the necessary parts are on hand. For Garage Door Installation in Camarillo projects, we measure, order the exact door, and schedule the installation with a written price agreed in advance.
The Bottom Line
Garage doors tell you when they’re failing, and they do it consistently, through the sounds they make, the way they move, and the visible condition of their springs and cables. The knowledge gap is not the lack of warning signs; it’s the lack of a reference for interpreting them. Once you know that grinding means metal-on-metal contact, that gap separation means a spring is actively unwinding, and that a door that reverses on its own is probably binding rather than possessed, you’ve gained a diagnostic framework that works on any garage door in Camarillo. Check your springs monthly, run the balance test quarterly, and treat anything in Tier 2 as a service call within the week. The warning signs are almost always there. The only question is whether someone is reading them.
If any of the warning signs in this guide sound familiar, Statesman Garage Door Repair offers free estimates throughout Camarillo. Call (855) 341-8382 and we’ll diagnose the issue, explain the repair in plain language, and give you a firm price before any work starts.
Written by the team at Statesman Garage Door Repair, serving Camarillo since 2018.
See the difference
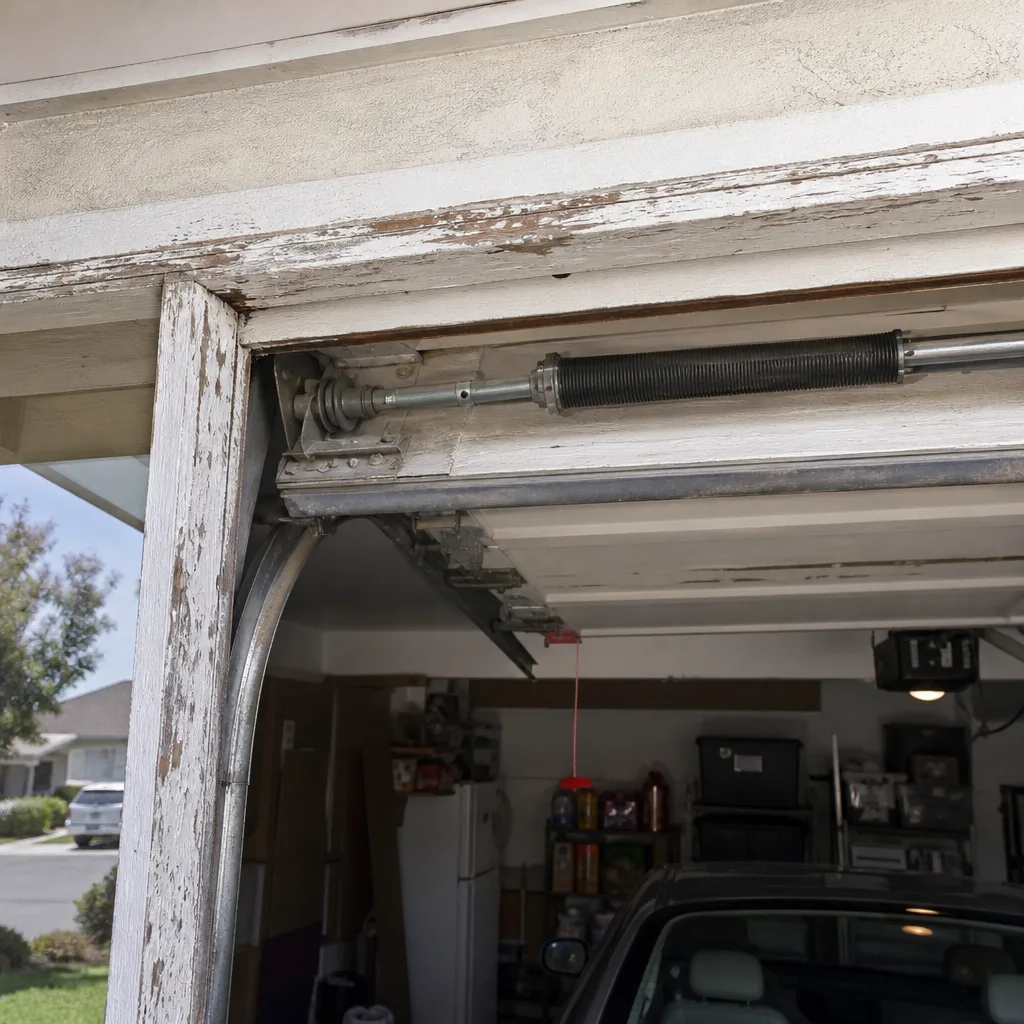 Before
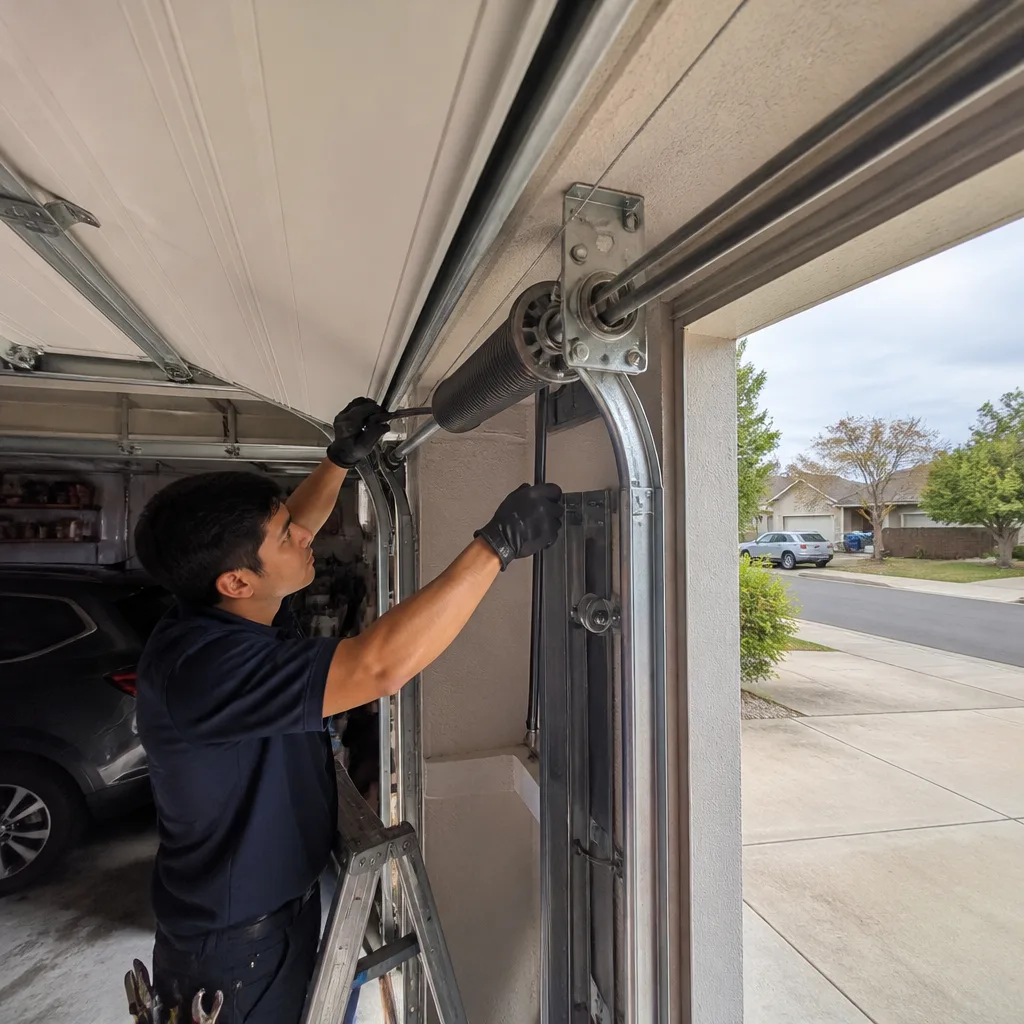 After
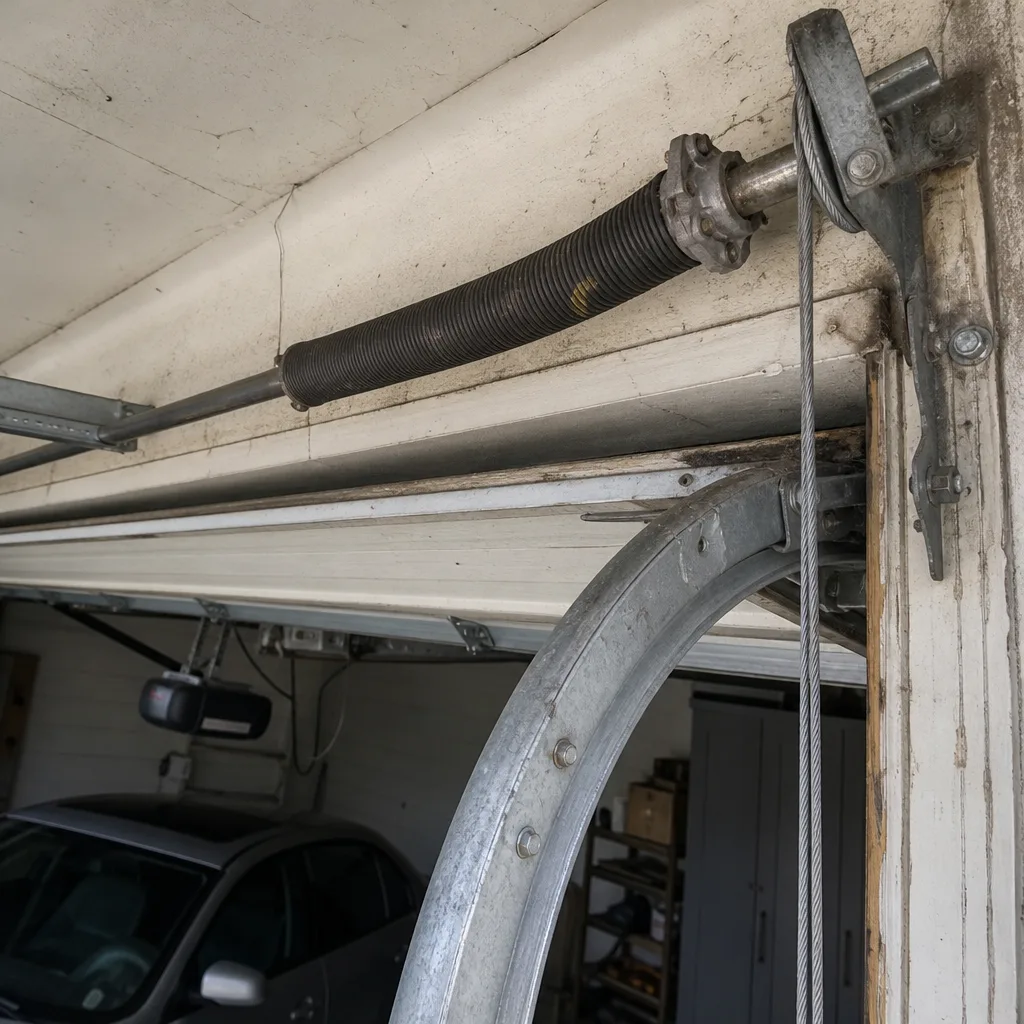 Before
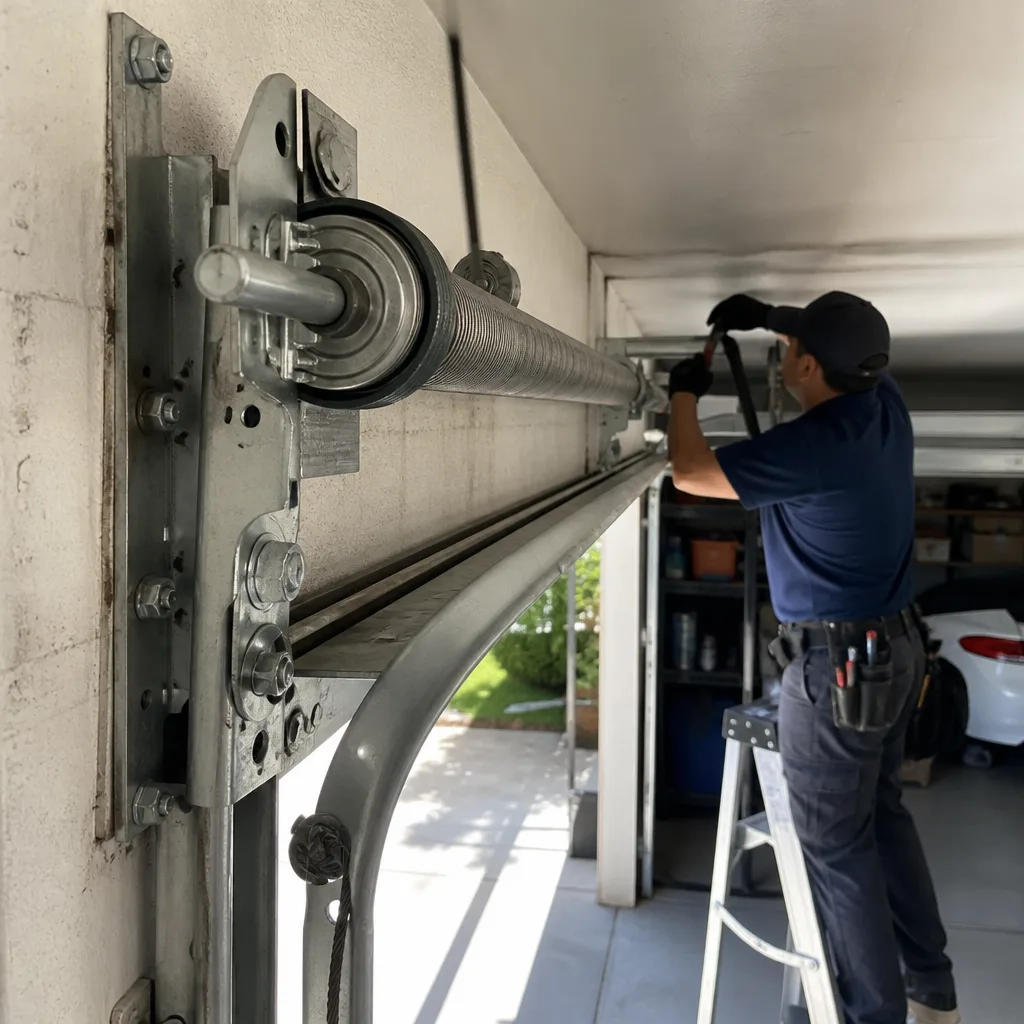 After
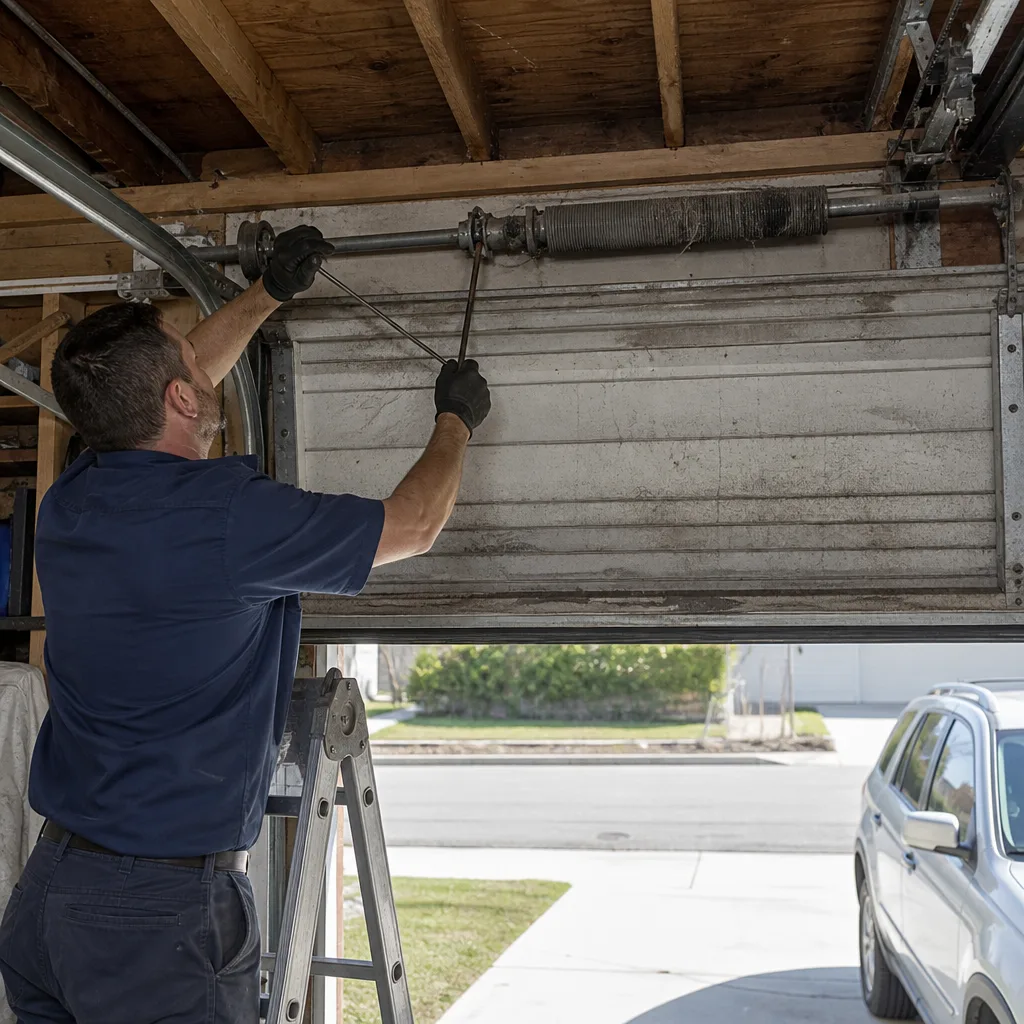 Before
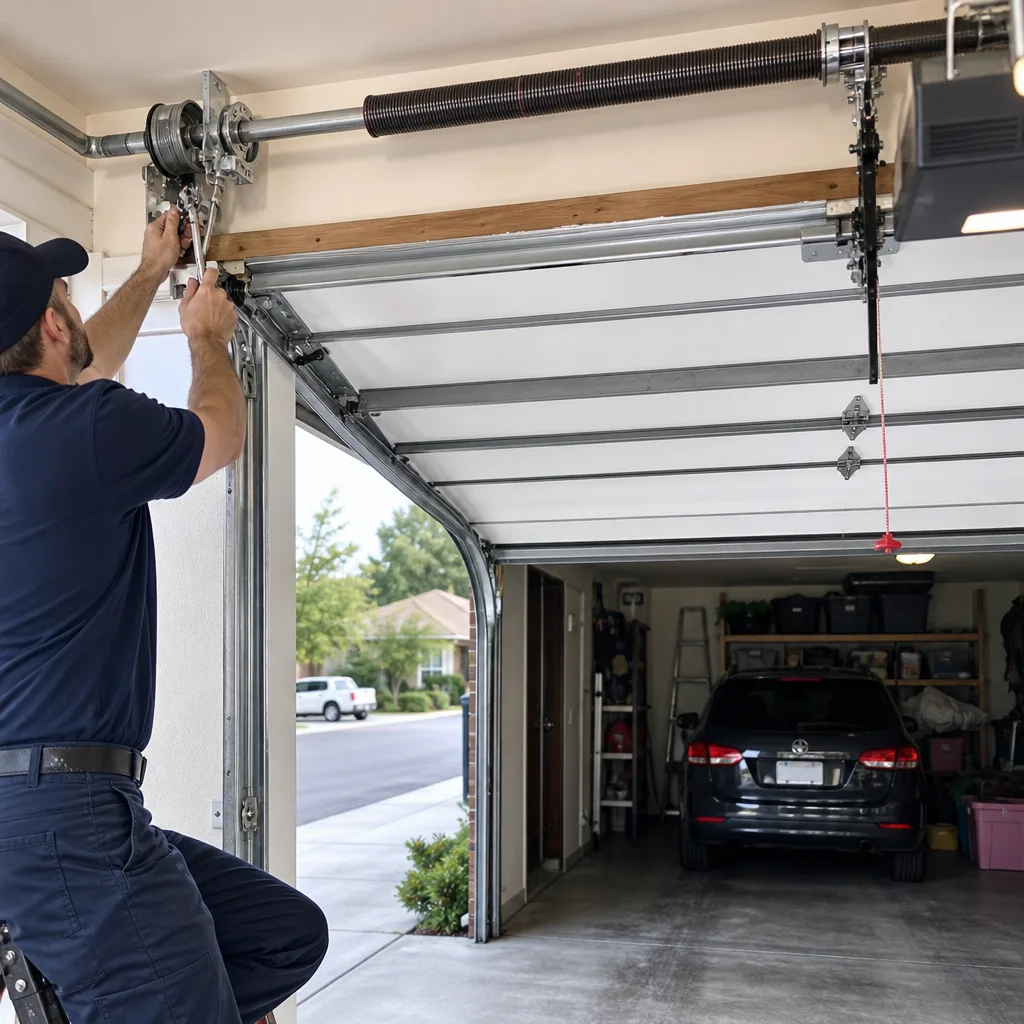 After