
Last updated November 2, 2026
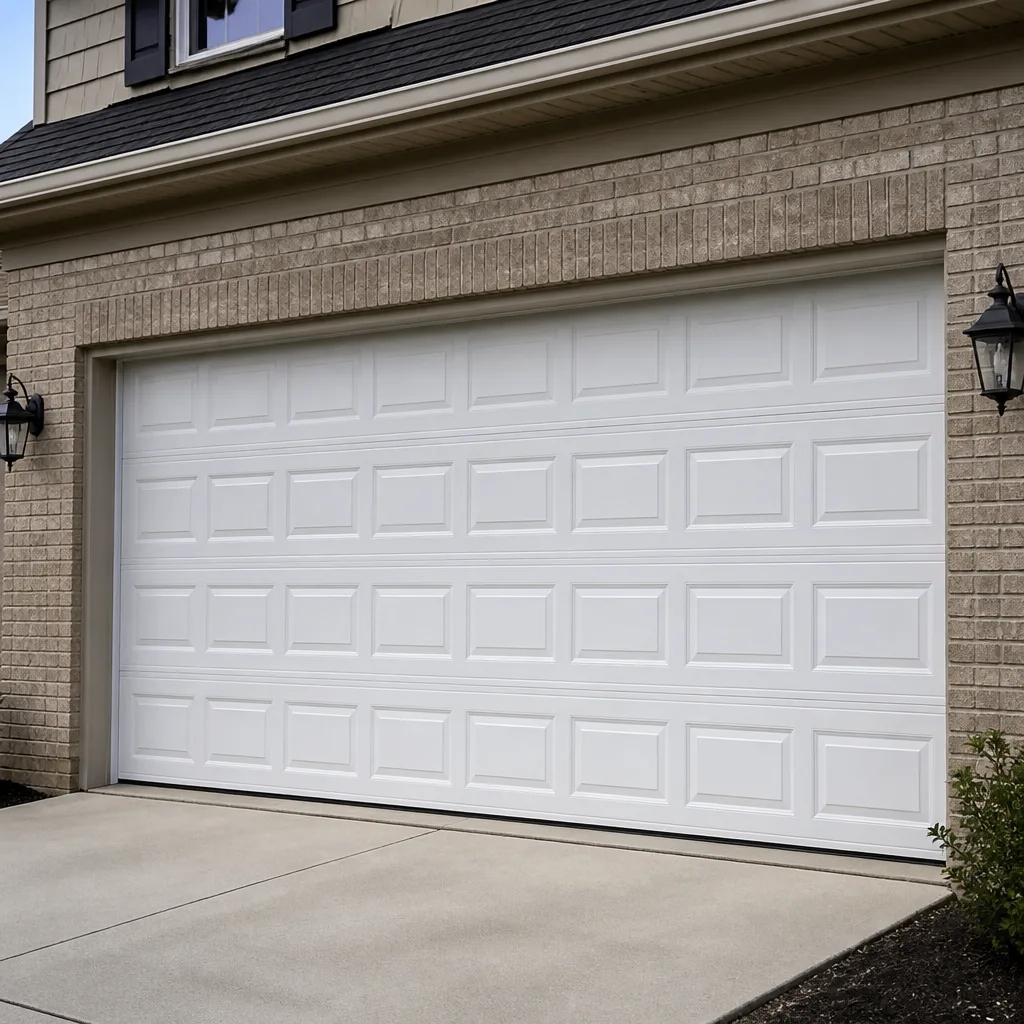 Raised-panel steel
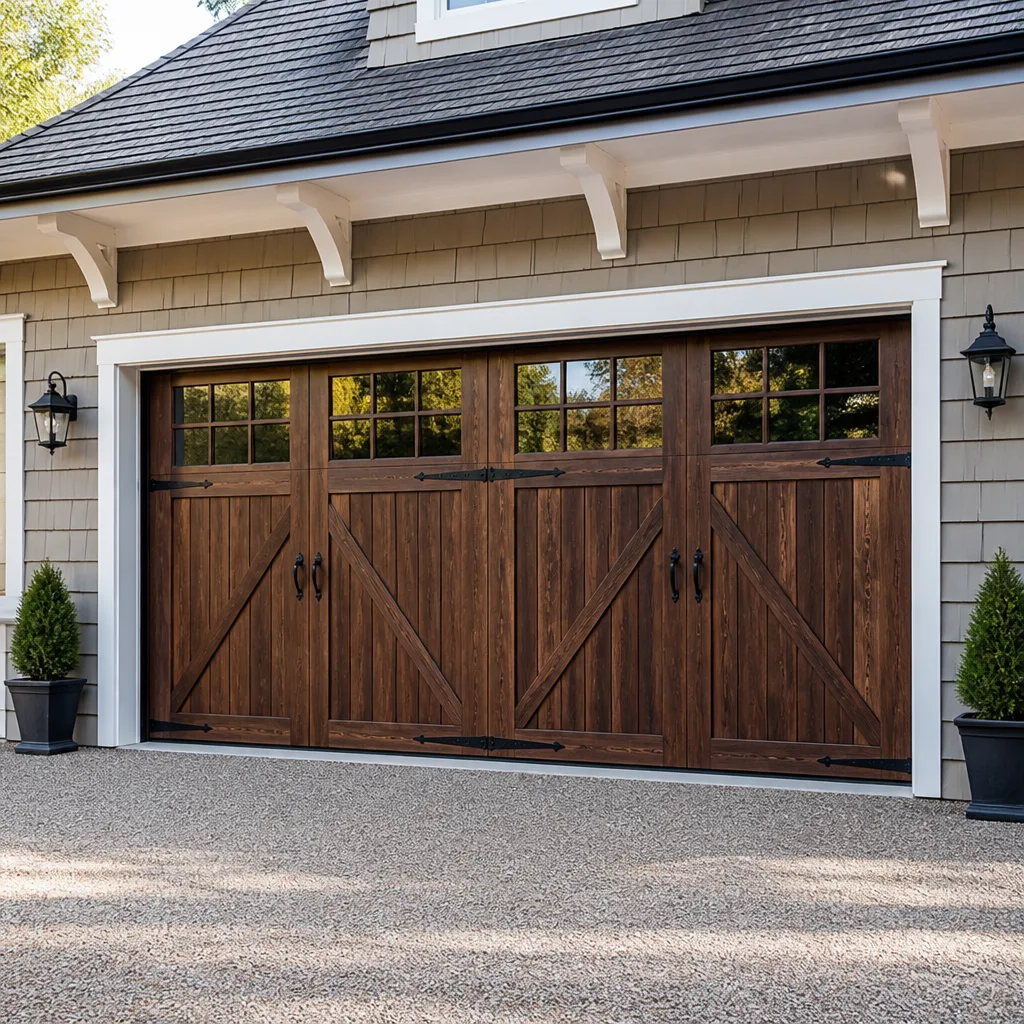 Carriage house
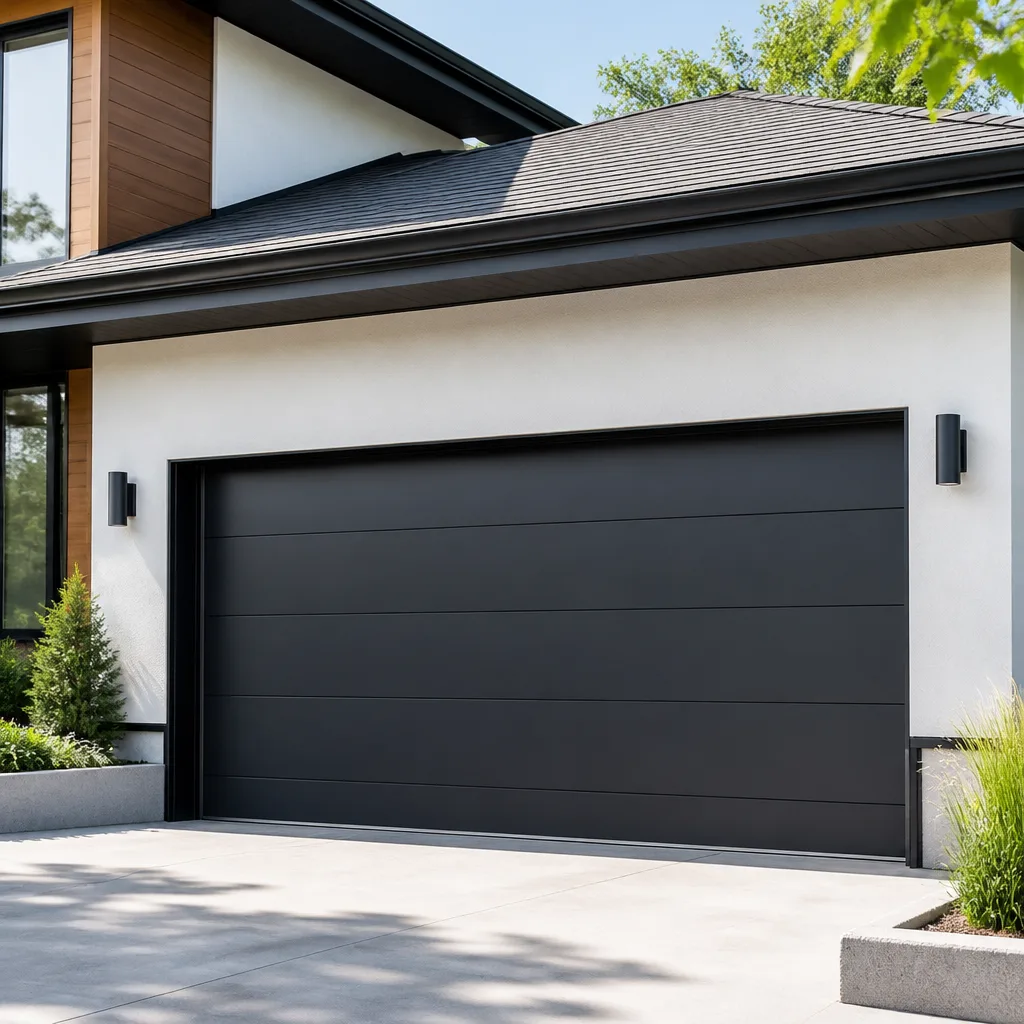 Modern flush
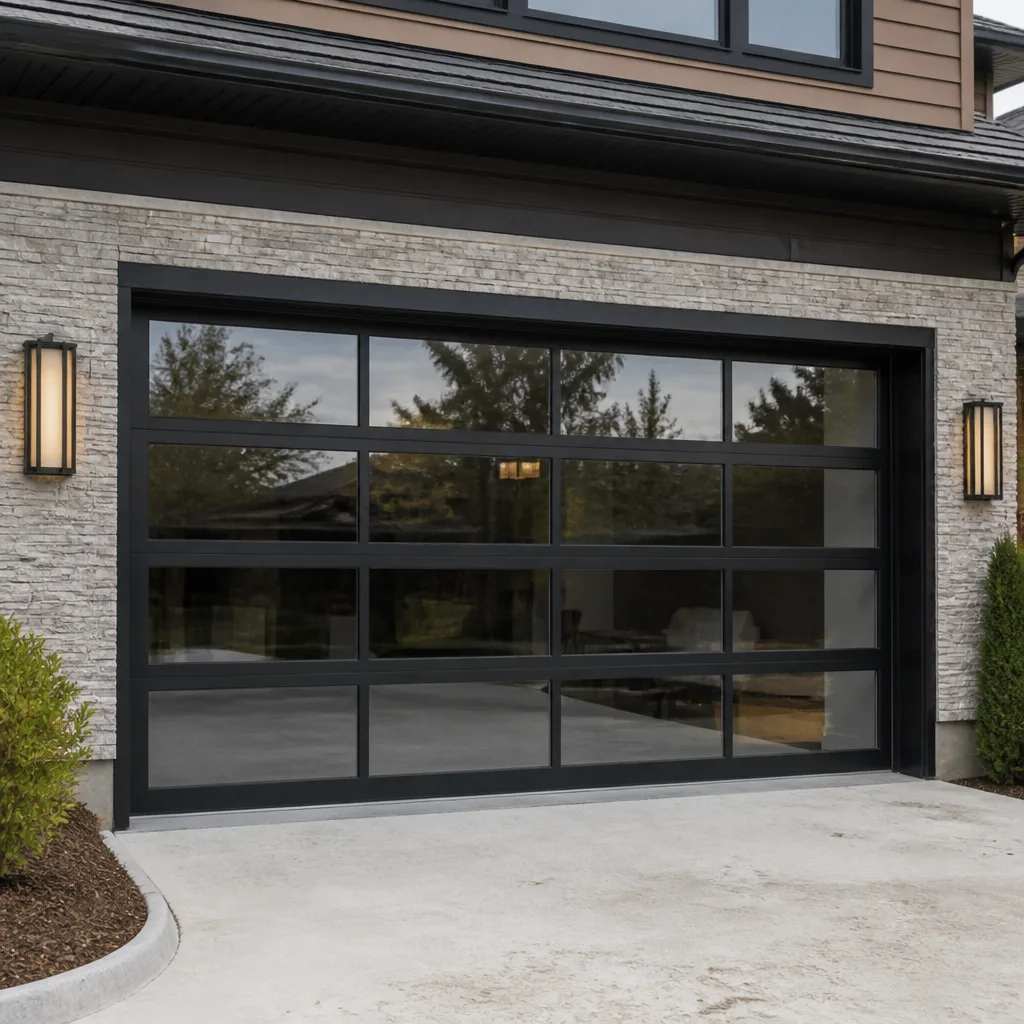 Full-view glass
 LiftMaster openers
 Chamberlain openers
Full 25-point door and opener safety check with every visit - springs, cables, rollers, tracks, and your LiftMaster or Chamberlain opener included
You get a price before we start. It does not change when the truck arrives.
Get your free estimateGarage Door Repair Troubleshooting: Common Problems and How to Fix Them
If your garage door is loud on the way up but smooth on the way down, that asymmetry tells you exactly which component is failing. Most homeowners in Camarillo replace the wrong part because they treat the symptom, not the signal. A garage door is not a collection of independent pieces. It’s a balanced system where every part shares load with every other part. When one component wears out, the stress redistributes to its neighbors, and what you hear or see is often the second failure in a chain, not the first. This guide walks through the most common garage door problems, what they actually mean, and how to know when a fix is safe to attempt versus when the door itself is telling you to stop, or when to call our Garage Door Repair services. By the end, you’ll read your door the way a technician does: symptom first, cause second, repair third.
Styles & brands we work with
- Raised-panel steel
- Carriage house
- Modern flush
- Full-view glass
- LiftMaster openers
- Chamberlain openers
Quick Answer
Garage door repair troubleshooting starts with identifying whether the fault is in the door itself (springs, rollers, tracks, cables, panels) or the opener (motor, logic board, sensors, drive mechanism). Most problems announce themselves through sound, movement irregularity, or visible wear, and the majority of “opener failures” are actually door problems that overloaded the opener. The safest first step is a manual disconnect test, which isolates door-side faults from opener-side faults in under two minutes without any tools. Repairs involving torsion springs, cables under tension, or a door off its track should stop immediately and be handed to a professional – see How to Hire a Garage Door Contractor in Camarillo: A Step-by-Step Guide for what to look for.
Table of Contents
- Reading What the Door Is Telling You: Sound Signatures
- The Manual Disconnect Test: Isolating Door vs. Opener in Two Minutes
- Sensor and Safety Eye Problems: The Five-Minute Isolation
- The Cascade Failure Pattern: How One Worn Part Takes Down Two Others
- Why It Works Sometimes and Not Others: Isolating Intermittent Faults
- Spring Failures: Torsion vs. Extension, and What Visible Gaps Mean
- Track, Roller, and Hinge Failures: What to Look For Before Damage Compounds
- Opener Strain and Motor Burnout: When the Door Is the Real Problem
- Common Mistakes to Avoid
- When to Call a Professional
- Frequently Asked Questions
- The Bottom Line
Reading What the Door Is Telling You: Sound Signatures
Every garage door has a baseline sound. When a component begins to wear, the door’s acoustic signature changes before it fails outright. Learning to read these changes is the difference between a $40 roller replacement and a $400 opener replacement. In Camarillo’s coastal climate, we hear a specific set of these signatures more often than others – details you’ll find in our Garage Door Warning Signs: A Camarillo Homeowner’s Reference Guide – as the salt-tinged air accelerates corrosion on exposed metal parts, and the temperature swings between foggy mornings and warm afternoons cause metal tracks and rollers to expand and contract in ways that accelerate wear patterns.
Here’s what the most common sounds indicate:
- Grinding or metal-on-metal scraping during travel: Worn rollers with flat spots or failing bearings. The roller is dragging on the track rather than spinning. If it’s a nylon roller with exposed metal, the bearing has worn through the outer sleeve. On a Wayne Dalton or Raynor door, this often happens around year 6 to 8 in Camarillo’s salt air, sooner if the door is used more than four cycles per day.
- A loud bang or snap at rest: A torsion spring letting go. It’s unmistakable, and it means the door is no longer counterbalanced. Do not attempt to operate the door or the opener after this sound. The door is now full-weight, and the opener is not designed to lift it.
- Rattling or chattering, especially on the way up: Loose hardware: hinge bolts, track bolts, or opener rail fasteners. The vibration pattern changes with direction because the door’s weight distribution shifts as it transitions from vertical to horizontal track. Upward travel is the heaviest load path for the entire system.
- A rhythmic thumping or bumping, once per foot or so of travel: A flat spot on a roller, a bent track section, or a panel hinge that’s binding. The periodicity is the key: if the thump happens at the same point in the door’s travel every time, it’s a track or roller issue at that spot. If it happens at regular intervals regardless of position, it’s a roller or hinge.
- Squealing or high-pitched shrieking from the opener unit: The opener’s drive gear or sprocket is stripping. This is almost always the result of a door that’s gotten heavier due to spring fatigue or track friction. The opener compensates until it can’t, and the gear fails as the sacrificial component.
The asymmetry you hear, loud up and smooth down, or vice versa, is diagnostic. Upward travel requires the spring system to do most of the work; downward travel uses gravity. If the noise happens only on the way up, the load-bearing components (springs, rollers under tension, opener drive) are the likely culprits. If it only happens on the way down, look at track alignment, hinge binding, or the opener’s descent control.
The Manual Disconnect Test: Isolating Door vs. Opener in Two Minutes
Here’s the test most homeowners don’t know exists, and it’s the single most useful diagnostic step in garage door troubleshooting. It separates door-side faults from opener-side faults without any tools. When a technician arrives at a home in Camarillo, this is the first thing we do.
Every opener has a manual release mechanism. On a LiftMaster or Craftsman opener, it’s a red cord hanging from the trolley or carriage. On newer models, it may be a release handle built into the rail. Here’s the sequence:
- Close the door fully if it will close. If it won’t close, skip to step 2 with the door as close to closed as it will go.
- Pull the manual release cord down and toward the door. You’ll feel the carriage disengage from the drive mechanism. The door is now disconnected from the opener.
- Lift the door manually by the handle or bottom edge. A properly balanced door should lift with roughly 10 to 15 pounds of effort, stay open about three feet off the ground when released, and travel smoothly throughout its full range.
- Lower the door manually. It should glide down smoothly without acceleration or hang-ups.
What the results mean:
- Door lifts smoothly and balances on its own: The door side is healthy. Your problem is the opener: motor, drive gear, logic board, or limit settings. Head to Garage Door Opener Repair in Camarillo for a deeper breakdown of opener-side diagnostics.
- Door is heavy, won’t stay up, or drops when released: Spring failure or fatigue. The door is not counterbalanced. The opener has been doing work it was never designed to do. Continued use will destroy the opener. Stop using the door and call a professional.
- Door binds, catches, or scrapes during manual operation: Track, roller, hinge, or panel issue. The opener has been fighting this friction. Fix the door side, then re-test.
- Door moves smoothly but stops at a specific point: Something is occupying space in the track: a bent section, a loose bolt head, or a roller that’s seized to its shaft but not yet destroyed.
This test takes two minutes and tells you what you’re actually fixing. Most homeowners call us and say “my opener is dead” when the opener is fine and the springs are shot. The disconnect test would have told them that before they bought a new opener.
Sensor and Safety Eye Problems: The Five-Minute Isolation
Intermittent problems are almost always electrical or sensor-related, and the safety sensors are the most common culprit. Here’s the quick answer: if your door starts to close, then reverses and the opener lights blink, the sensors are misaligned, dirty, or failed. Every opener manufactured after 1993 has them. Every one.
The sensors sit on either side of the door opening, about six inches off the ground. They project an invisible infrared beam across the threshold. If anything breaks the beam while the door is closing, the opener stops and reverses. This is a federally mandated safety feature, and it’s the cause of more “phantom” garage door problems than any other single component.
Here’s the five-minute isolation sequence we use in Camarillo, where morning fog can condense on sensor lenses and simulate a beam break:
- Check the sensor lights. Each sensor has a small LED. On a LiftMaster or Chamberlain opener, both lights should be solid. One solid and one blinking, or one out entirely, means misalignment or wiring fault. On a Genie, the light pattern is slightly different, but the principle is the same: both need steady power.
- Wipe the lenses with a dry cloth. Fog and dust are enough to scatter the infrared beam. In Camarillo’s marine layer mornings, this alone fixes a surprising number of “broken doors.” Do not use glass cleaner or any solvent. A dry or slightly damp cloth only.
- Check the sensor brackets. They are held by wing nuts and aluminum brackets. They get bumped by bikes, trash cans, kids, cars. If a bracket is loose, the sensor can drift out of alignment.
- Look for environmental interference. Direct sunlight hitting a sensor can overwhelm the receiver. This is a known issue on south-facing garage doors in Camarillo, where afternoon sun angles hit the sensor at a low angle. A simple cardboard shade taped above the sensor, not blocking the beam, fixes this.
- Check the wiring. The wires run from the sensors along the wall and up to the opener head. A loose staple, a rodent chew, or a fray where the wire exits the wall can cause intermittent power loss. If both sensors are dark, you have a power or wiring issue.
If the sensors check out and the door still intermittently reverses, the next suspects are the opener’s force settings and the logic board itself. Force settings that drift low will make the opener treat normal friction as an obstacle. This is more common on openers older than 8 years, and it’s often a board-level issue that requires replacement.
The Cascade Failure Pattern: How One Worn Part Takes Down Two Others
The most important concept in garage door repair troubleshooting is the cascade. A garage door has about 40 moving parts, and they are all linked through shared load paths. When one part wears, the system doesn’t isolate the damage. It redistributes the stress. Then a second part wears. Then a third. By the time the homeowner notices, they’re looking at a $700 repair that started as a $35 roller.
Here’s a typical cascade we see in Camarillo, on doors that face the prevailing coastal wind and accumulate fine grit in the track’s horizontal sections:
- A roller bearing fails or a roller flat-spots. The door’s weight is now dragging at that point instead of rolling. You may hear a thump or a grind. Many homeowners ignore this for months.
- The track bends at the point of greatest friction. The roller’s drag creates a hot spot where the track’s mounting brackets take extra lateral force. On the curved track section, where the geometry is most stressed, a bend develops. Now the door is pushing against a misaligned track every cycle.
- The opener compensates by pulling harder. The opener’s force settings, if set to auto-adjust, will increase torque to overcome the new friction. The opener’s motor and drive gear now work beyond design spec on every cycle.
- The drive gear or sprocket strips. On a chain-drive LiftMaster or Craftsman opener, the plastic drive gear inside the opener unit is designed as a sacrificial component, but it fails faster under constant overload. On a belt-drive opener, the belt may skip or the motor may overheat and trip its thermal overload.
- The homeowner calls a garage door repair company and says “my opener broke.” The opener didn’t break. It was murdered by an ignored roller.
This is why Statesman Garage Door Repair technicians diagnose the full system before quoting any repair. If we replaced only the stripped gear, the new one would fail within a year because the track is still bent and the roller is still dragging. The repair order matters: fix the root cause first, then address the damage that accumulated downstream.
Why It Works Sometimes and Not Others: Isolating Intermittent Faults
Intermittent garage door problems are the most frustrating because they never happen when a technician is standing there. But intermittent doesn’t mean mysterious. In almost every case, an intermittent fault is electrical: a loose connection, a marginal sensor, a failing capacitor, or a logic board with a solder joint that’s cracked and only loses contact at certain temperatures. Here’s how to isolate which one in under five minutes.
First, determine whether the problem is mechanical or electrical. Does the door hesitate in the same physical position every time? If yes, it’s mechanical: a track obstruction, a hinge that binds at a specific angle, or a roller that only drags when the door is in a certain section of travel. If the problem happens at random positions, random times of day, or only in certain weather, it’s electrical.
For electrical intermittency, work through this sequence:
- Wall button vs. remote: Does the problem happen with both? If the wall button works every time but the remote only sometimes, the issue is the remote, the receiver, or interference. If both are intermittent, the issue is in the opener itself.
- Time-of-day pattern: Does it fail more often in the afternoon? In Camarillo, temperature-related failures follow a predictable pattern. A logic board with a cracked solder joint may work fine in the cool morning and fail when the garage heats up in the summer afternoon. This is a board replacement, not a tune-up.
- The five-second test for sensor faults: Hold the wall button down continuously. If the door closes and stays closed while you hold the button, your sensors are NOT the problem (this bypasses the sensor circuit, which is the correct diagnostic use of this feature). If the door closes fine with the button held but reverses when you use a standard press, the sensor circuit is failing intermittently.
- Listen for a click but no movement: If the opener clicks but the motor doesn’t run, the start capacitor is failing. Capacitors weaken over time, especially in garages that get hot. This is a replaceable part, and it’s a classic “works when cold, dies when hot” failure mode.
On a Chamberlain or LiftMaster opener, the LED on the back of the unit blinks diagnostic codes. Count the blinks and look up the code for your model. Most intermittent electrical faults will show a code even when the door isn’t actively misbehaving. The logic board stores the last fault.
Spring Failures: Torsion vs. Extension, and What Visible Gaps Mean
The springs carry the weight of the door. Everything else just guides and moves. When a spring fails, the door becomes a 150 to 250 pound deadweight, and the opener is the next thing to fail. Spring failure is the most expensive cascade trigger in the entire system, and it’s also one of the easiest to diagnose visually if you know what to look for.
There are two spring types. Torsion springs are mounted on a shaft above the door opening. Extension springs are mounted on either side of the horizontal tracks. Torsion springs predominate on modern doors and on most doors you’ll find in Camarillo homes built after 1990.
Visible signs of spring failure or imminent failure:
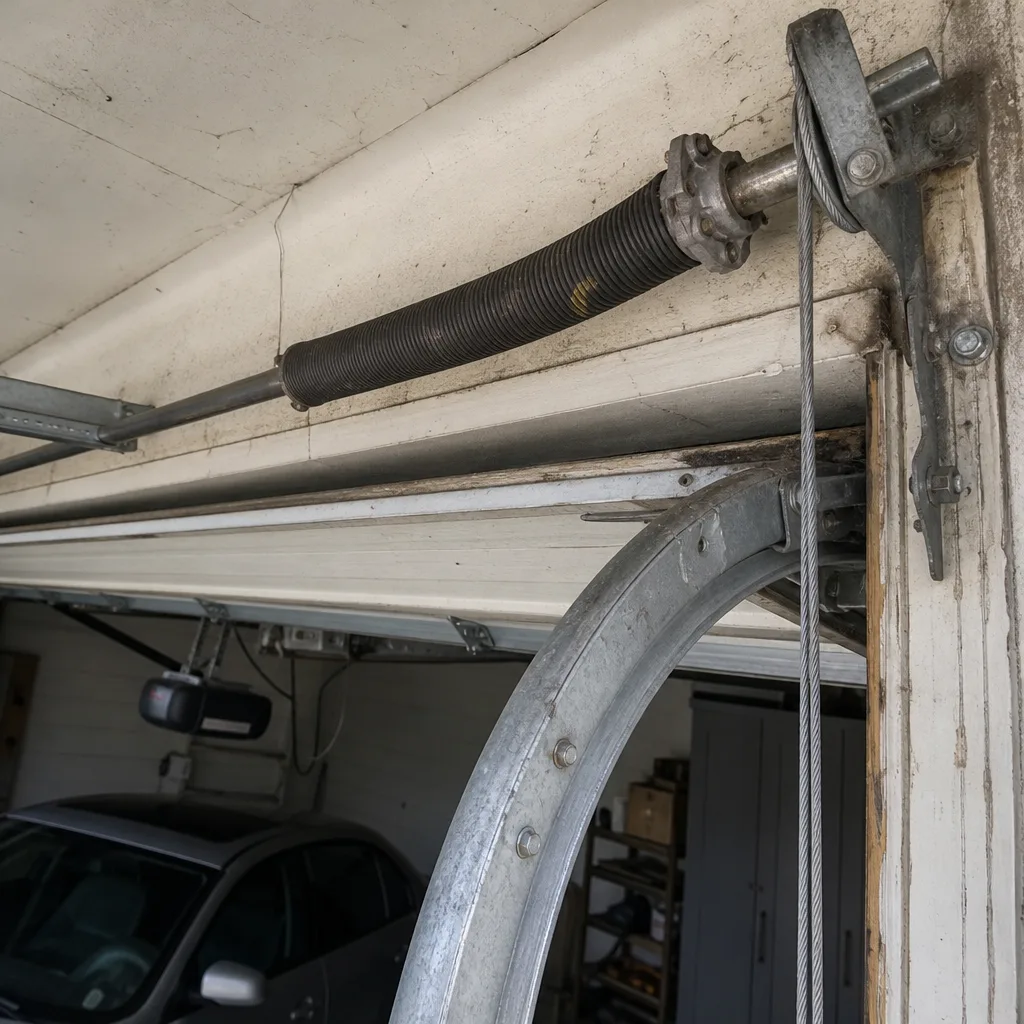
- Torsion spring gap: A torsion spring that has broken cleanly will show a visible gap between the broken ends. The break typically happens at the midpoint. If you see a two-inch gap in the coil, the spring is gone. Do not attempt to operate the door. There is no safe DIY repair here. Torsion springs are under enough tension to cause serious injury or death if mishandled.
- Spring stretch on extension springs: Extension springs have a limited life cycle, typically 10,000 to 15,000 cycles. When they fatigue, they stretch visibly. If an extension spring looks longer than its twin on the other side, it’s worn beyond spec. Both springs should be replaced as a set, and safety cables, which are required by code in California, should be present through the spring centers.
- Rust and pitting: Camarillo’s coastal air is hard on springs, especially on north-facing doors that don’t get direct sun to burn off condensation. Surface rust is normal. Pitting is the problem. If the spring has visible pits or flakes of metal, it’s compromised and should be replaced proactively.
- Worn end cones or loose set screws: On torsion springs, the end cones are what anchor the spring to the shaft. If you see a set screw that’s backed out or an end cone that’s cracked, the spring can unwind suddenly. This is a stop-work condition.
Spring replacement is not a DIY repair. The tools are specialized, the stored energy is lethal, and a mistake compromises the entire balance of the door. In our experience, homeowners who attempt torsion spring work without the right winding bars usually end up calling us for a repair that’s now more expensive because collateral damage occurred. If you see a spring gap, visible cable slack, or a door that’s suddenly heavy, call Statesman Garage Door Repair home and a technician will bring the right equipment and the right spring for your specific door and cycle weight.
Track, Roller, and Hinge Failures: What to Look For Before Damage Compounds
Tracks and rollers are the guidance system. They don’t carry much direct weight, but they control the door’s path, and when they fail, the door doesn’t just wear out faster. It becomes dangerous. A door that jumps its track can fall, and a falling sectional door carries enough energy to damage a car or injure someone standing underneath.
Here’s what to inspect, and what the findings mean:
- Roller wear: Nylon rollers with ball bearings should be silent and round. If a roller has a flat spot, if it wobbles on its shaft, or if the nylon is worn through to the metal core, it’s finished. Steel rollers without bearings, common on older doors, should be inspected for axle wear, which is visible as an ovalled hole where the roller sits on the stem. Worn roller axles wobble and chew out the hinge.
- Track gap: Where the roller rides in the track, there should be about a quarter-inch of clearance. If the roller is riding against one side of the track, the track is out of alignment, a hinge is bent, or the door is off-balance. Look for shiny wear marks on the track as evidence of contact.
- Bent track section: Tracks bend at the curved transition section most often because that’s where the door’s direction change concentrates force. A bent track may not be visible in a photograph but shows up as a roller that slows or binds at a consistent point. On a Raynor or Wayne Dalton door with heavier gauge track, bends are less common but not impossible after an impact.
- Hinge play: Panel hinges connect the door sections and carry a surprising amount of lateral load. If a hinge has visible play, if the rivets are loose, or if the hinge pin has walked out, it needs replacement before it allows the panel to shift and scrape the track.
- Loose fasteners: Track bolts, hinge bolts, and opener rail nuts all vibrate loose over time. A five-minute bolt check with a socket wrench catches most of these before they become failures. In Camarillo’s climate, we also check for corrosion on the fasteners themselves, which accelerates loosening.
If the door is off its track, with rollers out of the channel or the panel jammed at an angle, troubleshooting stops. Call Garage Door Repair in Camarillo and have a technician reset the door. Attempting to pry a door back onto its track while the springs are under tension is one of the most dangerous things a homeowner can attempt.
Opener Strain and Motor Burnout: When the Door Is the Real Problem
The garage door opener is a motor with a job. Its job is to move a properly balanced door through its travel cycle. When the door side is healthy, the opener works easily and lasts for years. When the door side degrades, the opener works harder, and the strain shows up in three specific ways, all of which are misdiagnosed as “opener problems” by homeowners who treat the symptom instead of the signal.
The three opener strain signatures:
- Thermal overload: The opener runs for a few seconds, shuts off, and won’t respond for 10 to 15 minutes. This is the motor’s thermal protection circuit. It trips when the motor pulls too much current for too long. The cause is almost always a door that’s gotten heavier, from spring fatigue or track friction. The opener is not broken. It’s protecting itself. Fix the door, and the overload stops.
- Stripped drive gear: On chain-drive openers from LiftMaster and Craftsman, the drive gear inside the unit is designed to fail before the motor does. When the gear strips, you hear the motor spinning but the chain doesn’t move. It’s a replaceable part, but if the door side isn’t corrected, the new gear will strip too. This is the classic cascade endpoint.
- Premature limit switch failure: The limit switches control where the door stops at the top and bottom of travel. When the opener strains, the limits drift. The door stops an inch short or over-travels and reverses. Re-adjusting the limits is a quick fix, but if they keep drifting, the opener is fighting the door and you need to address the mechanical side.
If you’re in the market for a new opener, or if you need opener work done on an existing door, Garage Door Opener Repair in Camarillo covers the full range of drive types and smart-home-compatible units from the major manufacturers. The technician will check the door balance before any opener work, because installing a new opener on a heavy door is just scheduling the next failure.
Common Mistakes to Avoid
We’ve watched thousands of Camarillo homeowners troubleshoot their own garage doors, and the same mistakes recur. Here are the ones that cost the most money and create the most risk:
- Replacing the opener when the door is the problem. The disconnect test takes two minutes and would prevent most of these. A new opener on a door with failed springs will burn out just like the old one did. Diagnose the door side first, always.
- Lubricating everything without cleaning first. Spraying lubricant over dirt and grit creates a grinding paste that accelerates wear. Clean the tracks and rollers first, then lubricate only the moving contact points: roller bearings, hinge pivots, and the spring surface.
- Ignoring a sound because the door “still works.” A grinding roller is a $35 fix. The stripped opener gear it eventually causes is a $300 fix. The sound is the early warning system. Either use it or pay for ignoring it.
- Attempting spring work without the right tools. Torsion springs require winding bars, not screwdrivers, not pry bars. Every year, homeowners are injured attempting this work. The springs carry enough stored energy to break bones. This is the line where DIY stops, no exceptions.
- Replacing one spring when the other is equally worn. Springs are replaced in pairs. If one has failed, the other has the same cycle count and is equally fatigued. Replacing one just means another service call in a few months, and you’ll pay for the labor twice.
- Adjusting the opener’s force settings to “fix” a door that’s binding. Increasing force to overcome friction just accelerates wear on everything downstream. The force setting is a diagnostic, not a repair.
When to Call a Professional
Garage door repair troubleshooting has clear stop points. You don’t have to be an expert to know these, but you do have to respect them once you see them. Here’s the line:
- Visible cable slack: If the lift cable is loose or hanging, the cable may have slipped off the drum, or a spring has broken. Both mean the door is no longer safely counterbalanced. Stop.
- A spring gap: As covered above, a broken torsion spring is a stop-work condition. No exceptions, no “just this once.”
- The door is off its track: If panels are jammed at an angle or rollers are out of the channel, the door is unstable. Moving it risks dropping sections and injuring anyone nearby.
- A door that falls when released manually: This indicates complete spring failure. The door is full-weight and dangerous to operate.
Statesman Garage Door Repair offers free estimates in Camarillo. Call (855) 341-8382 and we’ll diagnose the full system, explain what’s actually wrong, and quote the repair at an agreed price before any work begins. No dispatch fee for the estimate, no surprises after the work starts.
Frequently Asked Questions
A loud bang on closing usually means the door is hitting the ground with too much force, which is either a limit switch that’s set too low or a spring that’s lost tension. The opener lowers the door under power, and if the springs aren’t doing their part, gravity adds more speed than the opener expects. In Camarillo, thermal expansion in the afternoon can make this worse, as the tracks warm and the door’s travel path changes slightly. Check the close limit first, then have the spring tension tested if the bang persists.
An opener that works intermittently is almost always an electrical fault: a failing capacitor, a cracked solder joint on the logic board, or a sensor photoelectric cell that’s marginal. The pattern matters. If it works in the morning and fails on hot afternoons, suspect the capacitor or board. If it fails when the sun is low and hitting the sensors, suspect optical interference on the sensor receiver. Call (855) 341-8382 and we can run a diagnostic on the opener’s stored fault codes, which usually reveal the problem even when the door isn’t actively misbehaving.
No. A broken torsion spring means the door is no longer counterbalanced, and the full weight of the door is being carried by the opener and the remaining spring. Continued use will damage the opener and risks a cable failure that could let the door drop. Here in Camarillo, we replace springs in pairs because the unbroken spring has the same cycle count and will fail soon anyway. Do not operate the door until the springs are replaced.
Rollers need replacement when they have flat spots, visible wear through a nylon sleeve, wobble on their stem, or seize instead of spinning. You can inspect them by disconnecting the opener and moving the door manually while watching each roller. A roller that slides instead of turns is dragging, and it’s damaging the track. For garage doors in Camarillo that face salt air, inspect more frequently, as roller bearing corrosion is accelerated compared to inland locations.
Yes, individual panels can be replaced on most sectional garage doors, including models from Wayne Dalton, Raynor, and Clopay. The panel is matched to the existing door’s manufacturer and color, and the section is swapped without disturbing the spring system. This is a much more economical repair than a full door replacement when the damage is isolated, such as a single dented bottom panel. Statesman Garage Door Repair handles Garage Door Installation in Camarillo as well as panel-level repairs, so we can advise honestly on whether a panel replacement makes sense for your door’s age and condition.
A door that rises unevenly is telling you the lift system is unbalanced: one cable has slipped, one spring has lost tension, or one drum at the top of the door has shifted on the shaft. The door is pulling more weight on one side, and that side lags. This is not a cosmetic issue. The imbalance is stressing every hinge, the track on both sides, and the opener. Stop using the door and have a technician inspect the cable and spring system before the imbalance causes a cable to snap.
The Bottom Line
Garage door troubleshooting is about reading the full system, not just the part that made the noise. The door and the opener are one integrated mechanism, and the most expensive repairs happen when a small worn part is ignored long enough to cascade into a major failure. Start with the disconnect test. Listen to the sound signatures. Check the sensors before replacing the opener. Respect the stop points: spring gaps, cable slack, and off-track doors are not DIY territory. When the problem is clear and the repair is outside your comfort zone, Statesman Garage Door Repair is one call for any garage door need in Camarillo. Call (855) 341-8382 for a free estimate, and we’ll have a technician diagnose your door the right way: the whole system, from the springs to the logic board.
Written by the team at Statesman Garage Door Repair, serving Camarillo since 2018. Explore more guides & resources.
See the difference
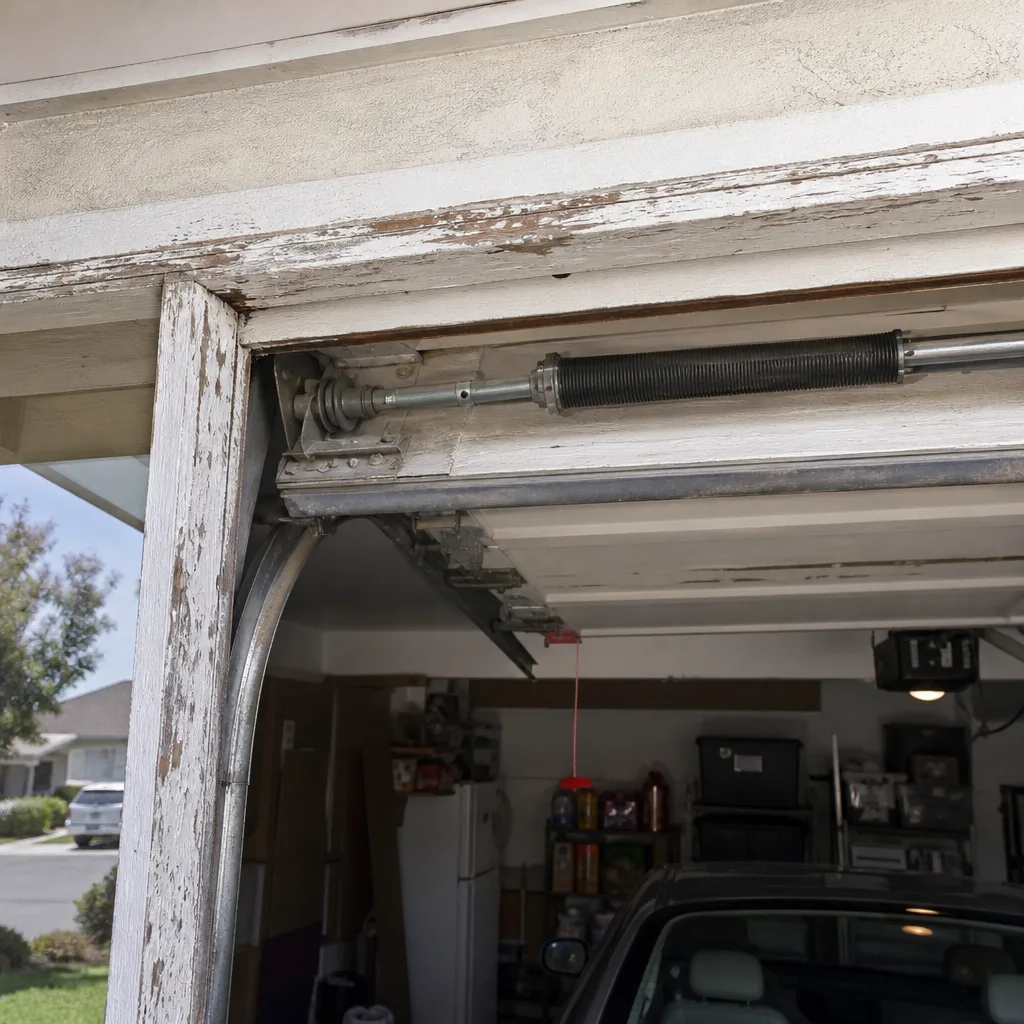 Before
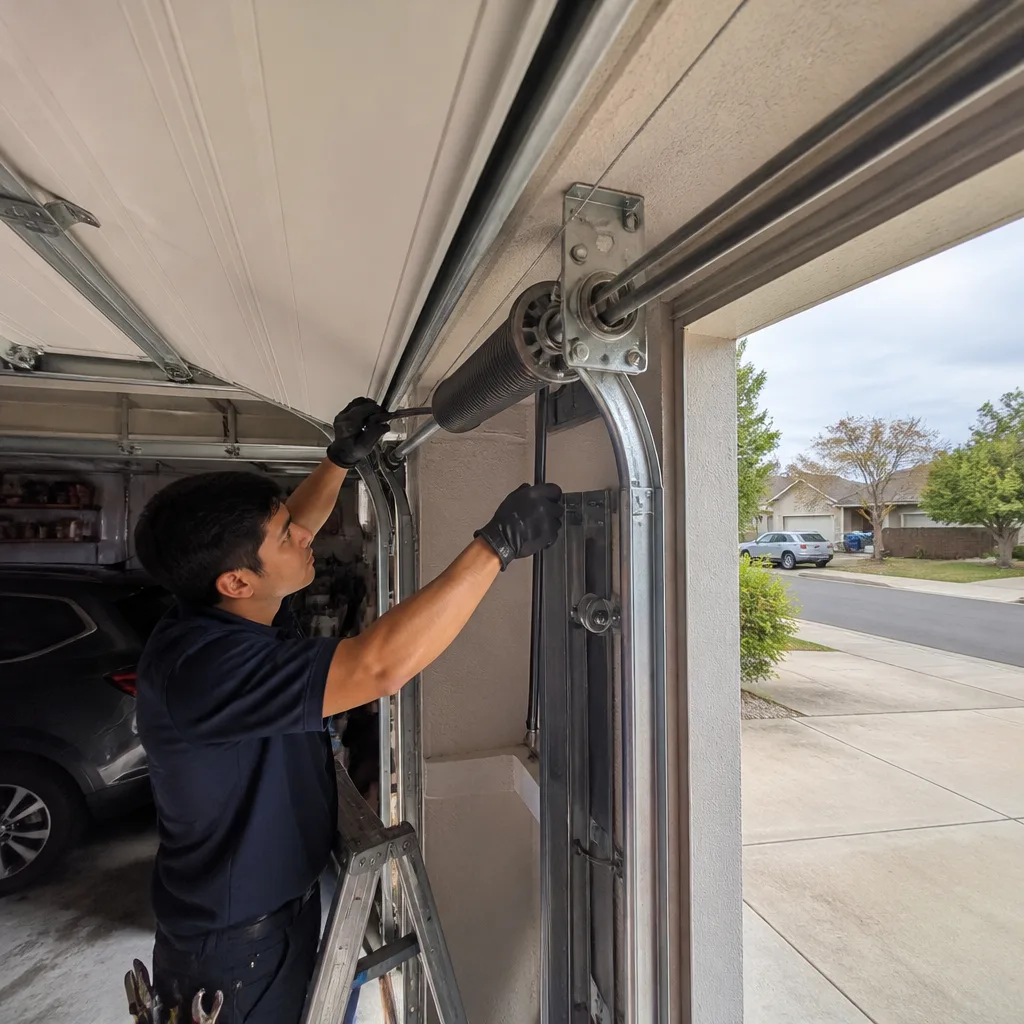 After
 Before
 After
 Before
 After